How To Add Your Business To Apple Maps
Want to make sure that your business shows up when a customer searches for you on an Apple Maps? Follow this step-by-step guide that will tell you all you need to know about adding your business to Apple Maps Login.
List & Claim Your Apple Map Business Login
The iPhone has become the smartphone of choice for most people with one in five phones sold globally being made by the Cupertino company. Users of the iPhone are likely to use Apple Maps to find businesses near them. In this guide, we’ll be providing step-by-step instructions to ensure that customers find you when they’re searching for you on Apple Maps.
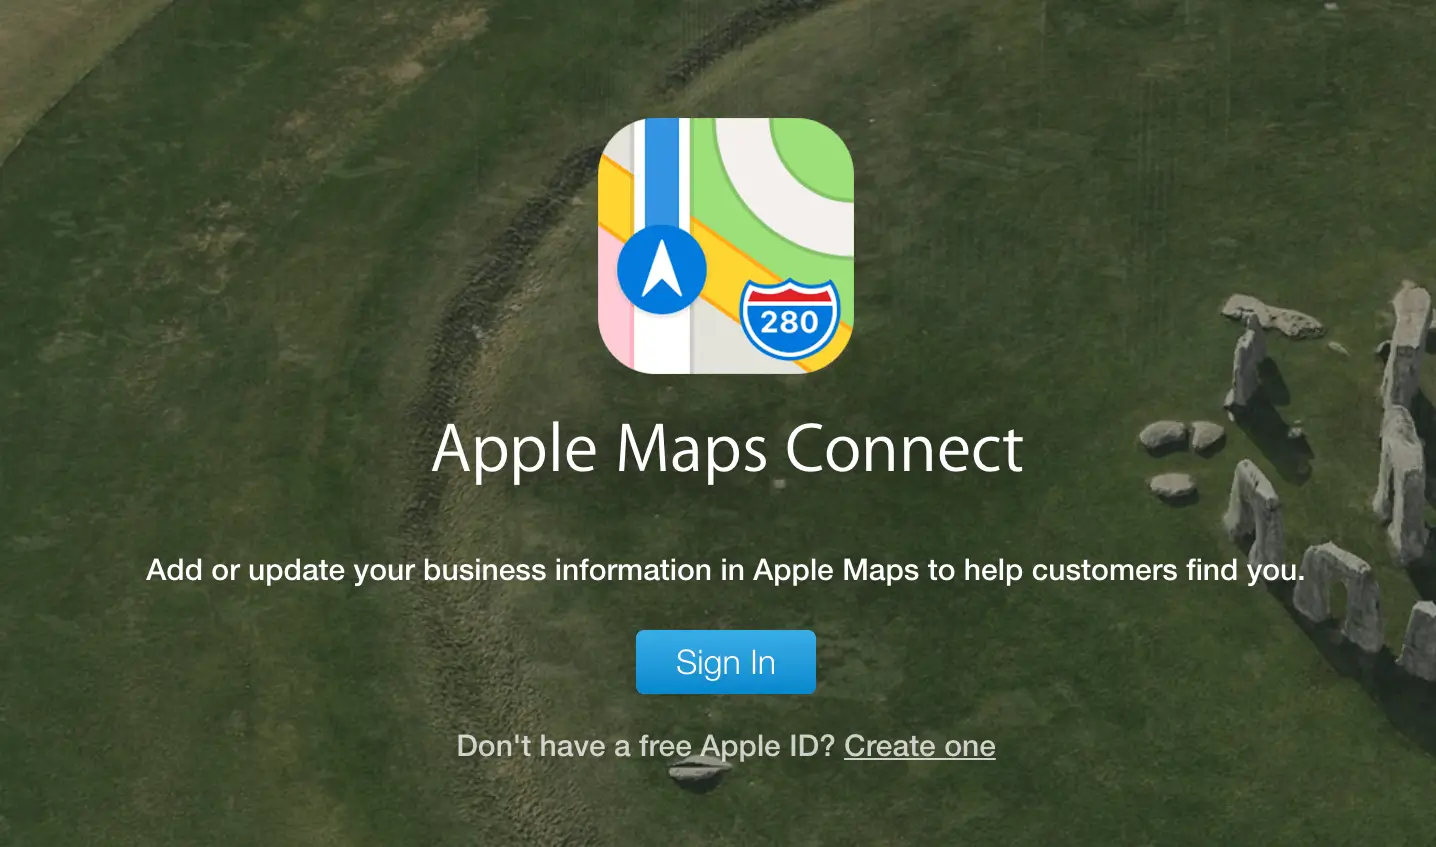
Step 1: Login To Apple Maps Connect
For your business to be found on iPhone Maps, you’ll first need to ensure that you’re listed on Apple Maps Connect.In order to do this, first visit the Apple Maps Connect website. Thie page will require you to login with your Apple ID. This will be the same account that you’d typically be using to login to your iTunes or Apple App Store.If you don’t have an Apple account, you can use this form to create an account. Creating an apple account will require you to verify by email.If you have an existing Apple ID, you may be required to enter a verification code sent to one of your connected Apple devices
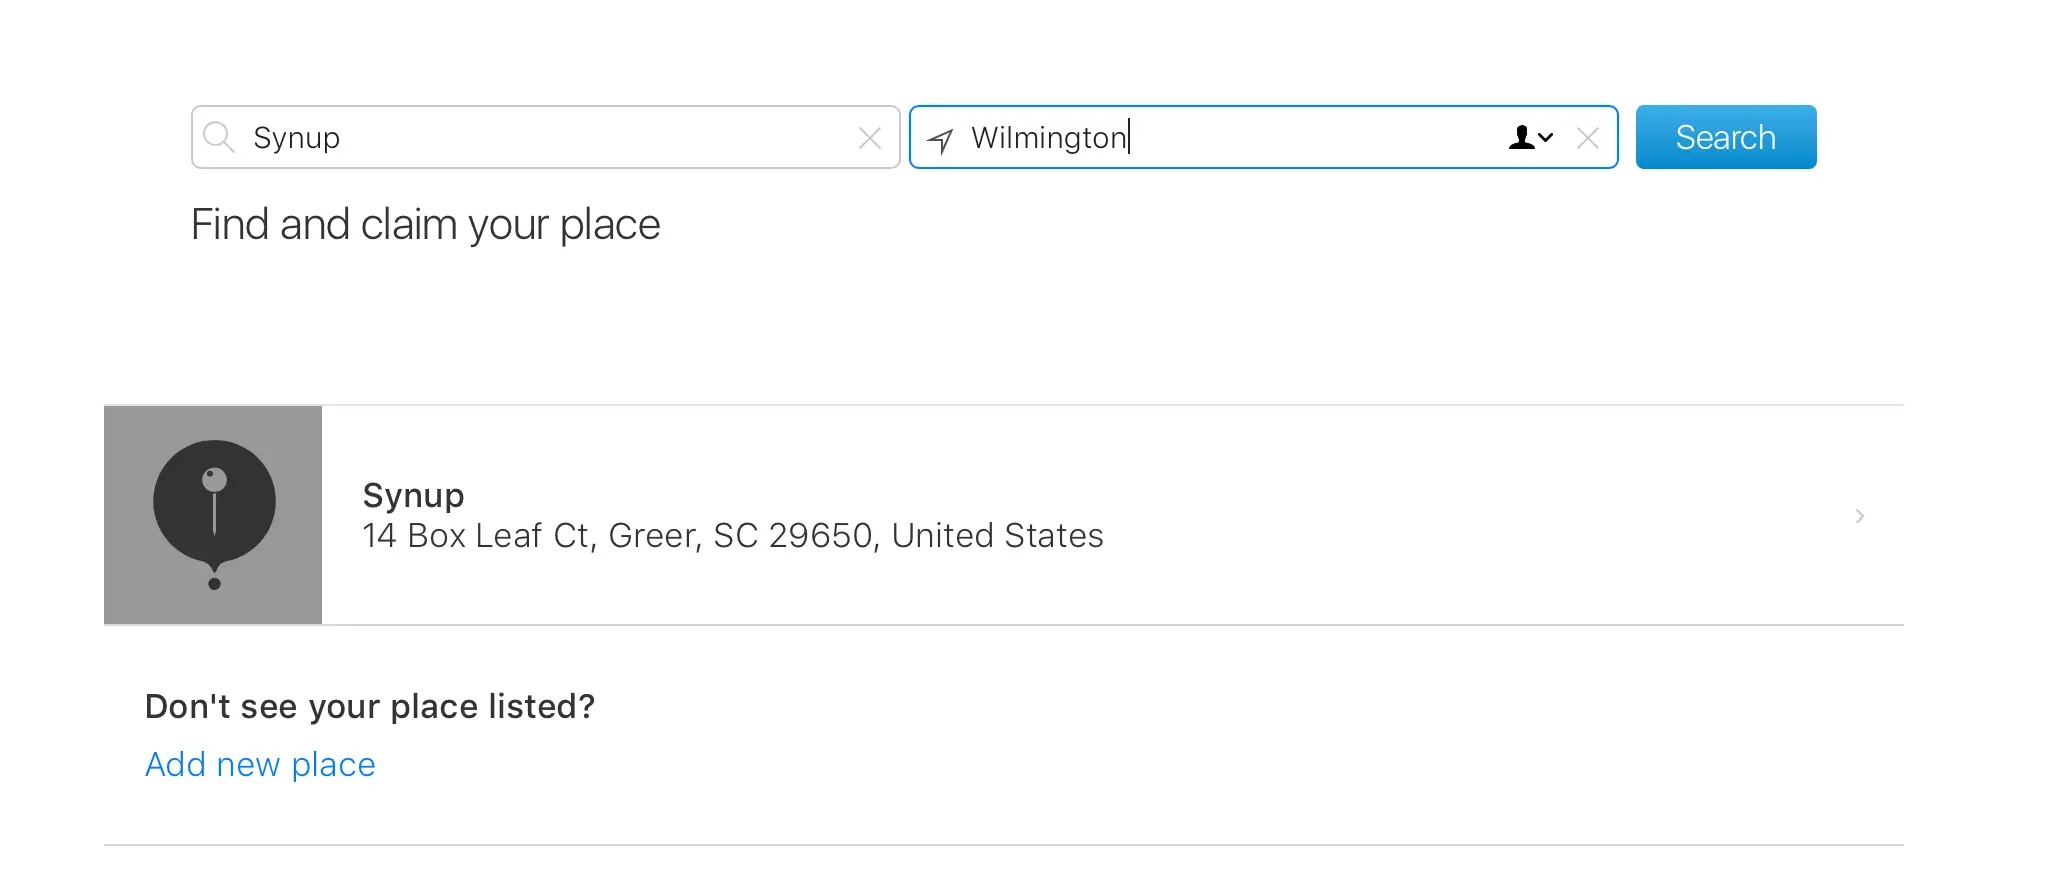
Step 2: Search For Your Business
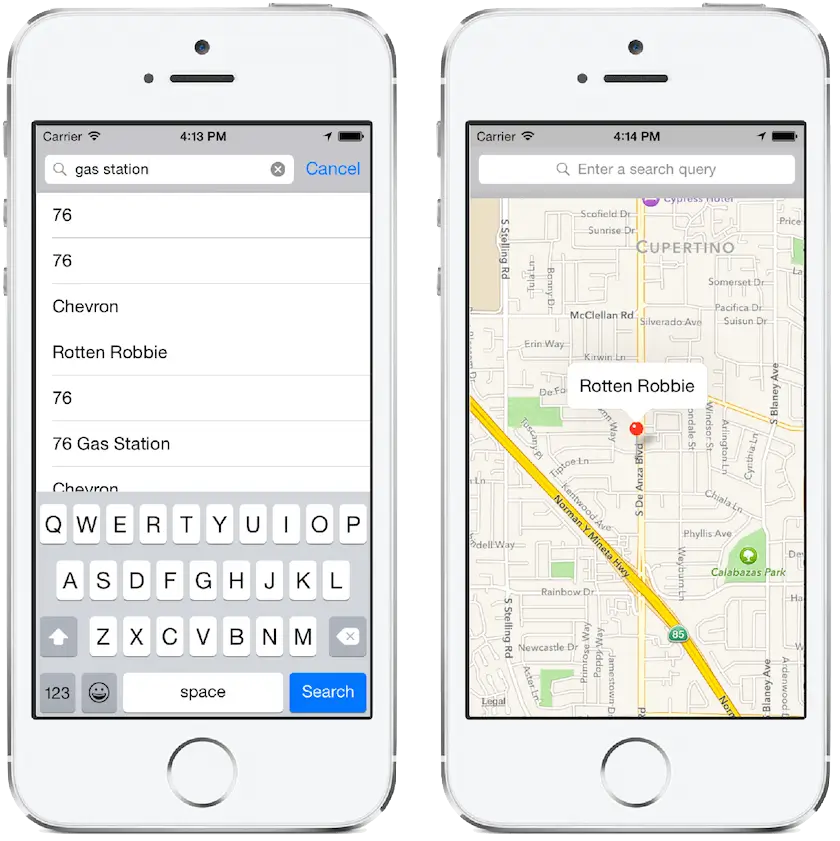
Once you’re logged in to Apple MapsConnect, the service will prompt you to search for your business on Apple.
If your business already exists –
click on your business’ information on the search results below and click on the “Claim this place” option on the business listing
If your business doesn’t exist –
use the “Add New Place” option under the search results to add your business to iPhone Maps.
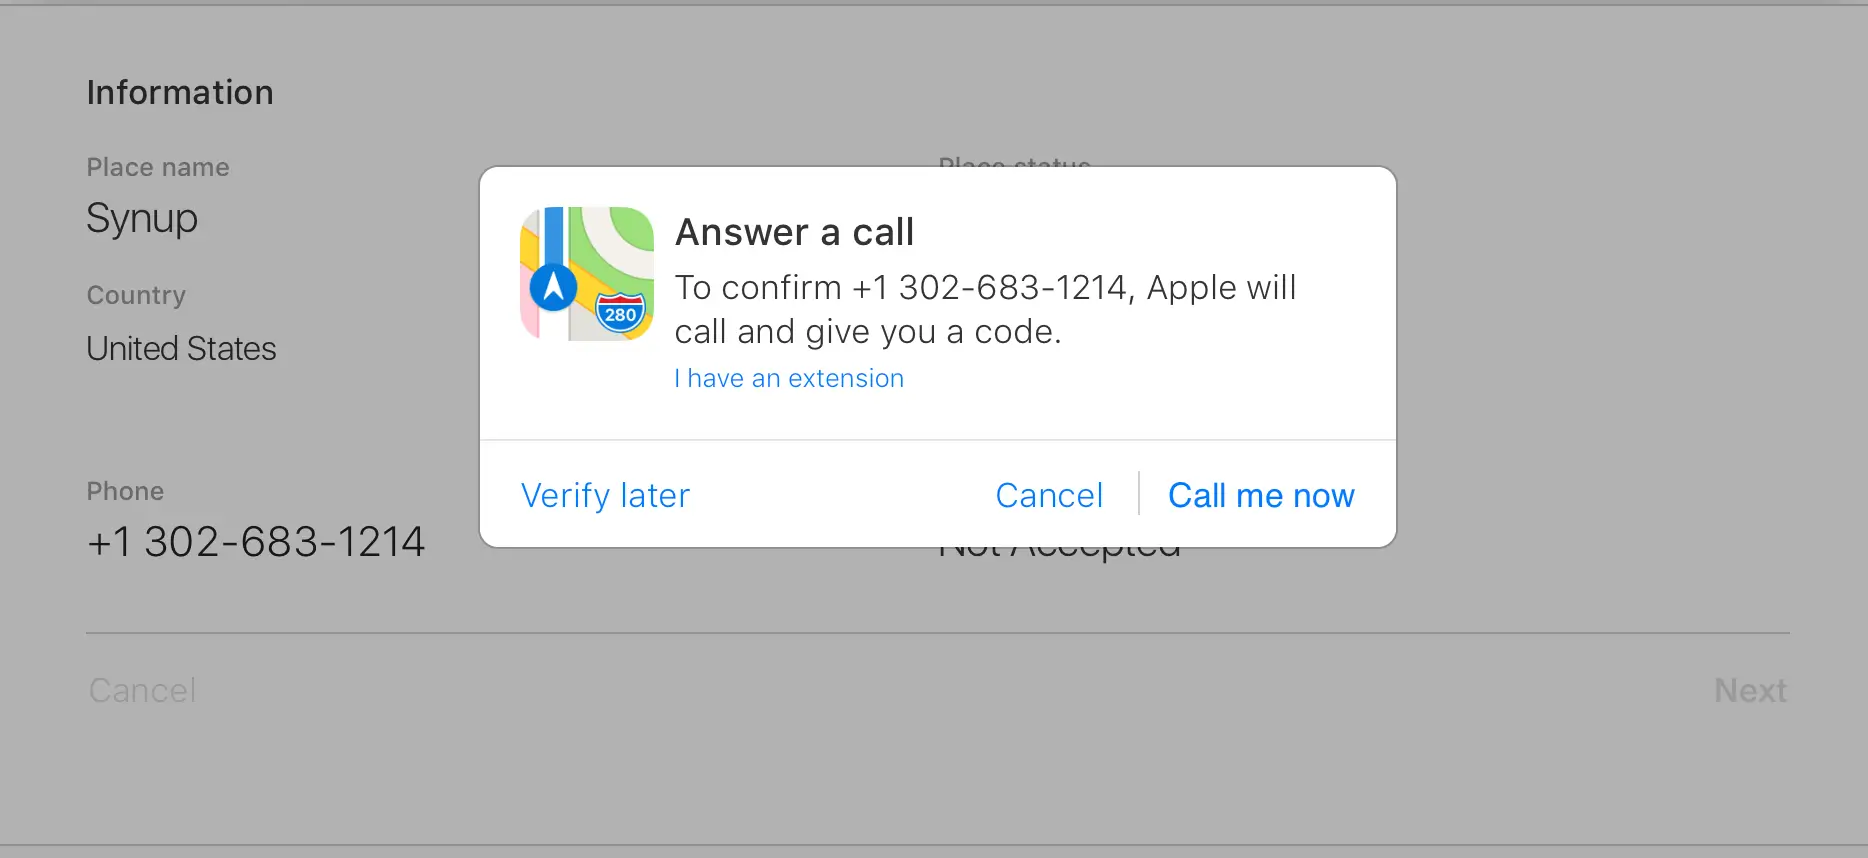
Step 4: Claim Your Business
Once you add your business or attempt to claim a business that already exists on Apple iPhone Maps, the service will trigger a phone call to validate your identity.
You will need to receive the phone call on the business phone number on the existing business listing or the number you entered while registering your new business.
At this point, you should received an automated phone call fom Apple with a four-digit verification pin used to activate your business listing.
Step 3: Adding Your Business
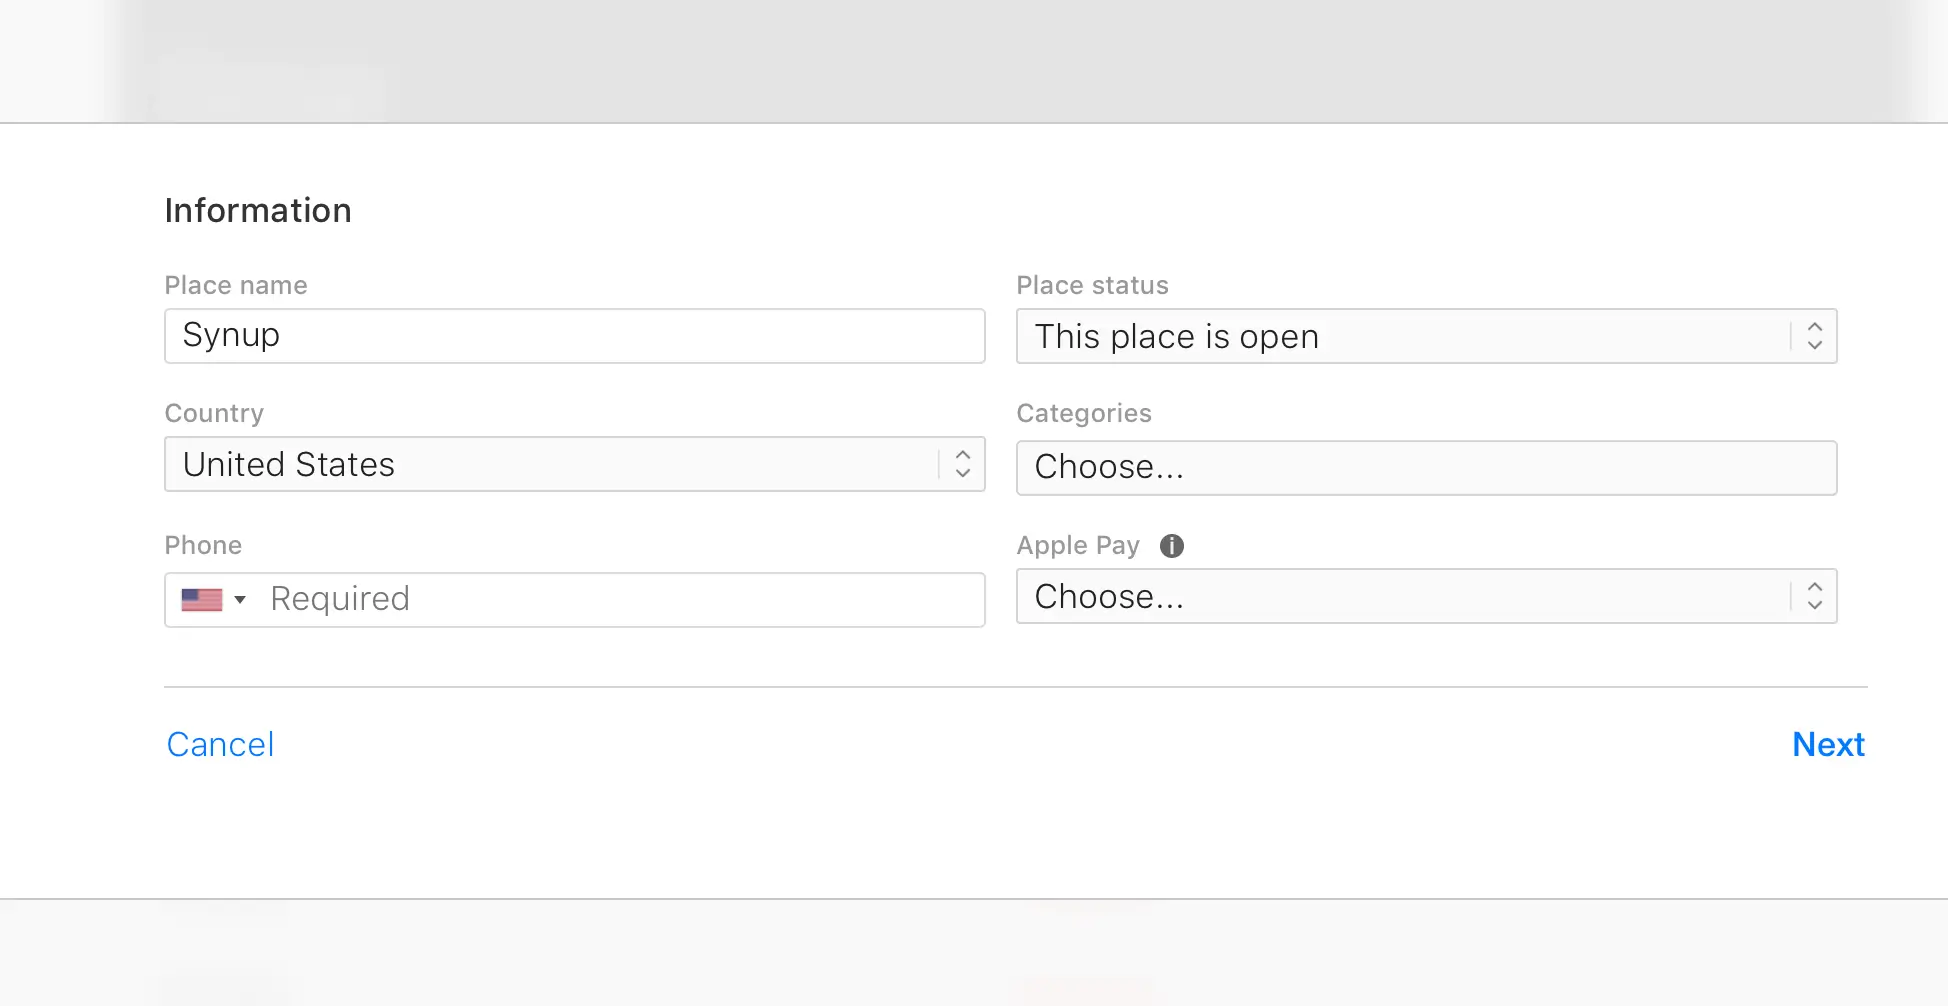
Once you’re on the screen to add your business, proceed to the following steps
Place Name –
Ensure that you enter your accurate business name
Place Status –
Set this to “This place is open”
Categories –
Select the most accurate category that describes your business. You will also be allowed to enter additional categories

Step 5: Enter your location information
Once you’ve completed the phone verification process, you will proceed to the next step where you’ll be asked to enter your location information.
Fill out the following fields:
Full Street Address –
Enter your full street address as you want it to appear on iPhone Maps
Unit / Suite Number –
This is optional, but if you operate out of a unit or suite, it is recommended that you enter this information.
City / Zip & State –
Enter your city, zip and state information
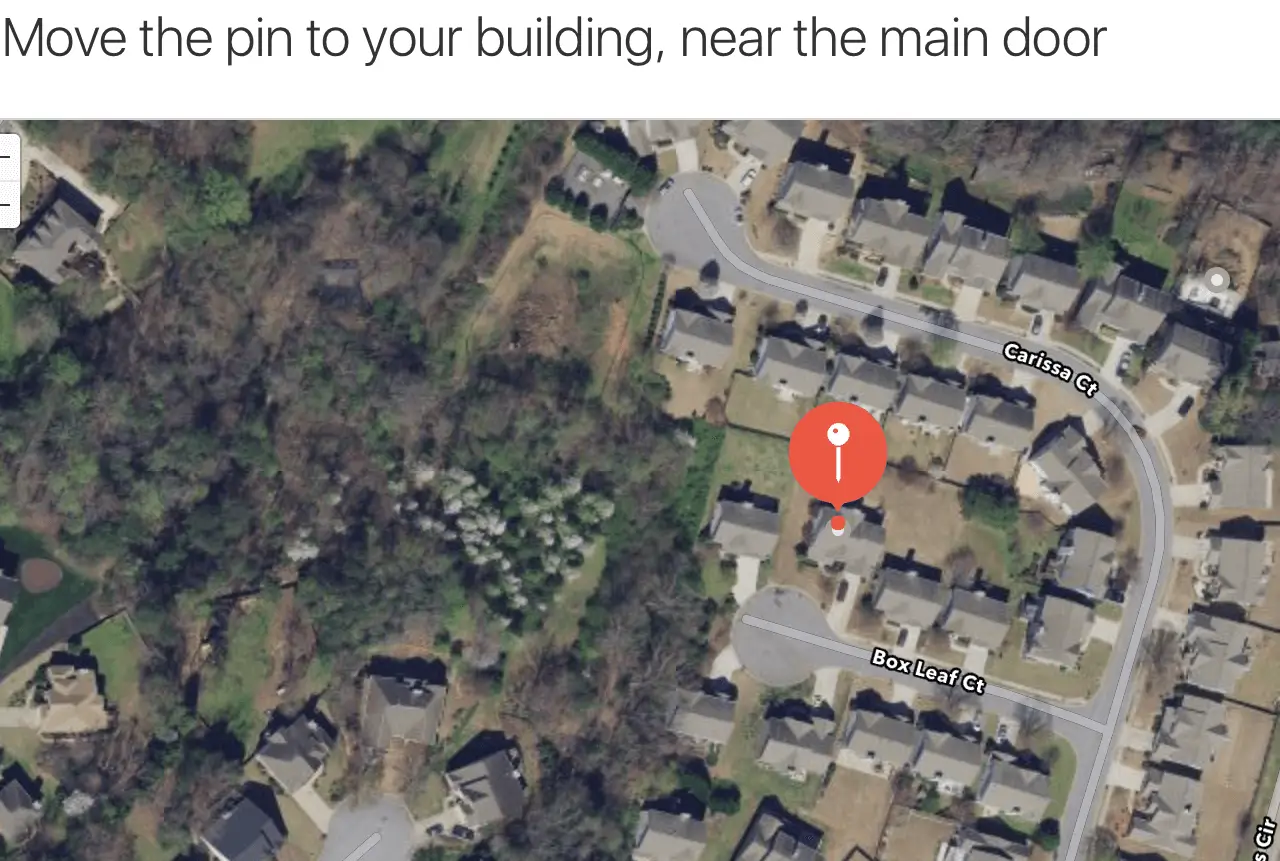
Step 6: Set Your Map Marker
In this step, you’ll need to confirm your exact location on Maps. The wizard will prompt you to drop the map-marker exactly above your storefront door.
Ensure that your maps is pointing towards the exact building in order to ensure that customers are able to drive to your storefront without facing issues.
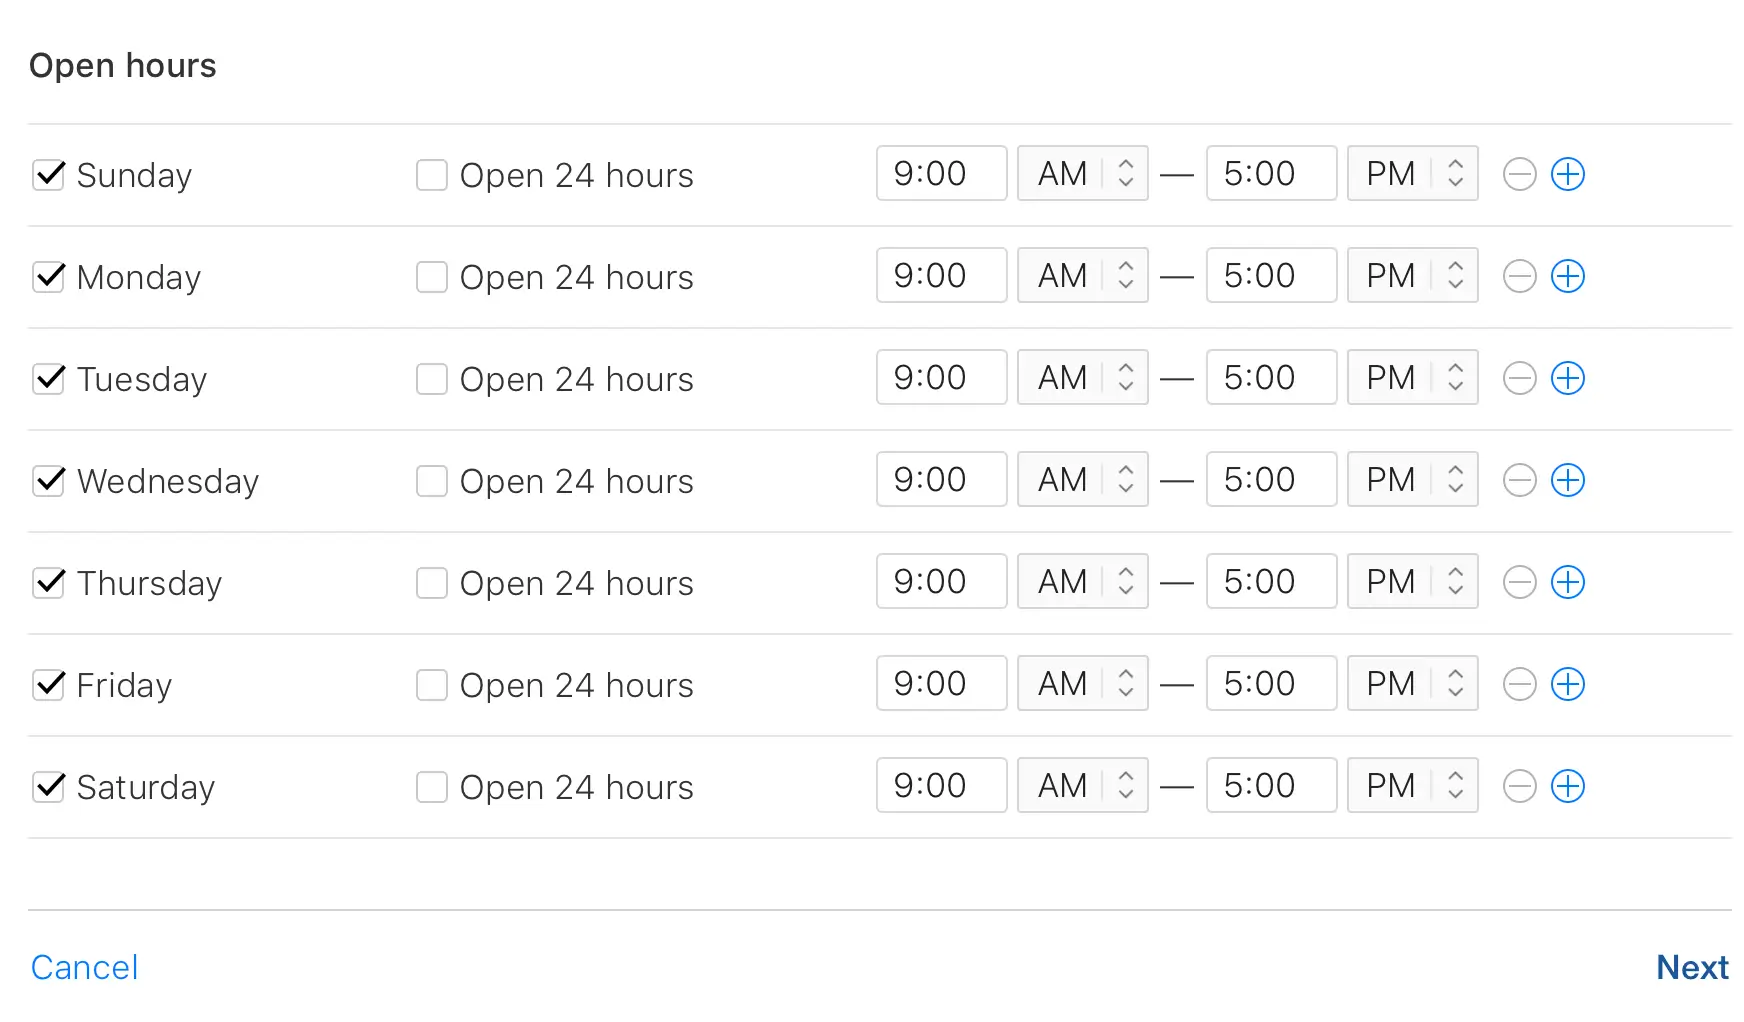
Step 7: Verify / Add Your Business Hours
Once you’re done verifying your map marker, you’ll need to confirm your business hours. Bear in mind that you can change these later if required.
It is recommended that you enter your regular operating hours to ensure that customers get the right store-hours when they’re searching for you on iPhone maps.
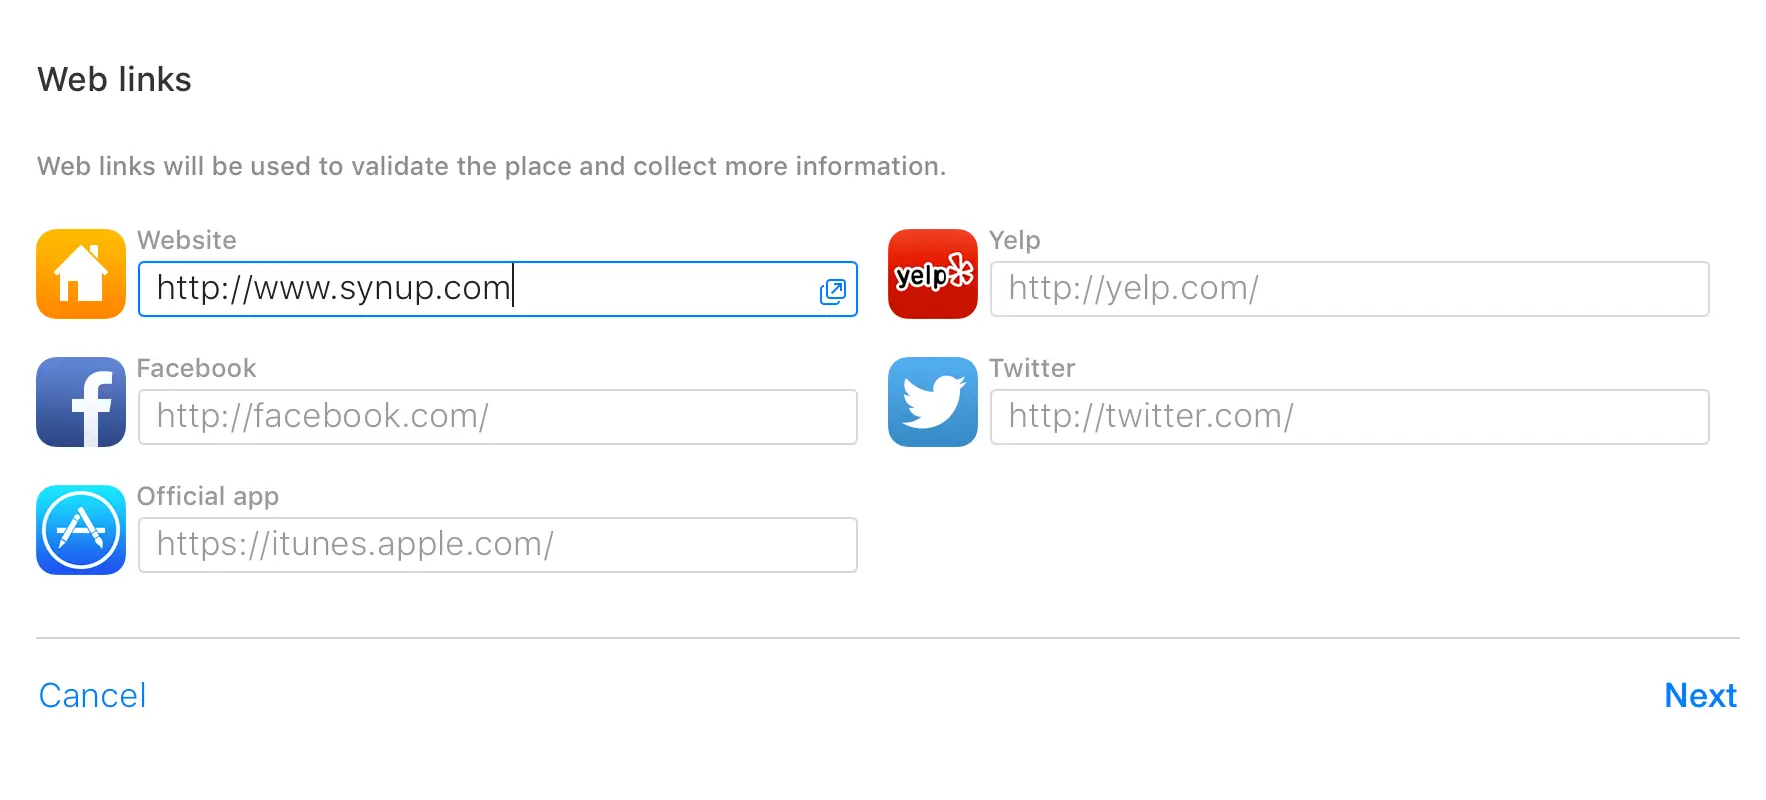
Step 8: Add Your Website / Social Media Links
It’s important that you add your website and social media links to your Apple to ensure that customers are able to go to your website for additional information as well as follow you on social media for latest updates.
You can add your website, yelp profile link, facebook profile link, twitter handle and iTunes official app URL.
Step 9: Verify That You’re Showing Up On iPhone Maps
After all the steps are completed, you should start showing up on iPhone Maps correctly.
You can search for your business using the MapsConnect console or within the iPhone Maps application to verify this.