How to Add/edit Your Business to Waze
Add / Edit waze listing for your business with our easy guide
Waze is a community-based traffic and navigation app. It uses GPS and user- feedback to provide directions and real-time traffic updates. You can add your place or business to the app, so people searching for it can check it out and get proper directions. Here’s how to go about adding your business to Waze.
Step 1: Download Waze
Download the Waze app for android or iOS, depending on the device that you use.
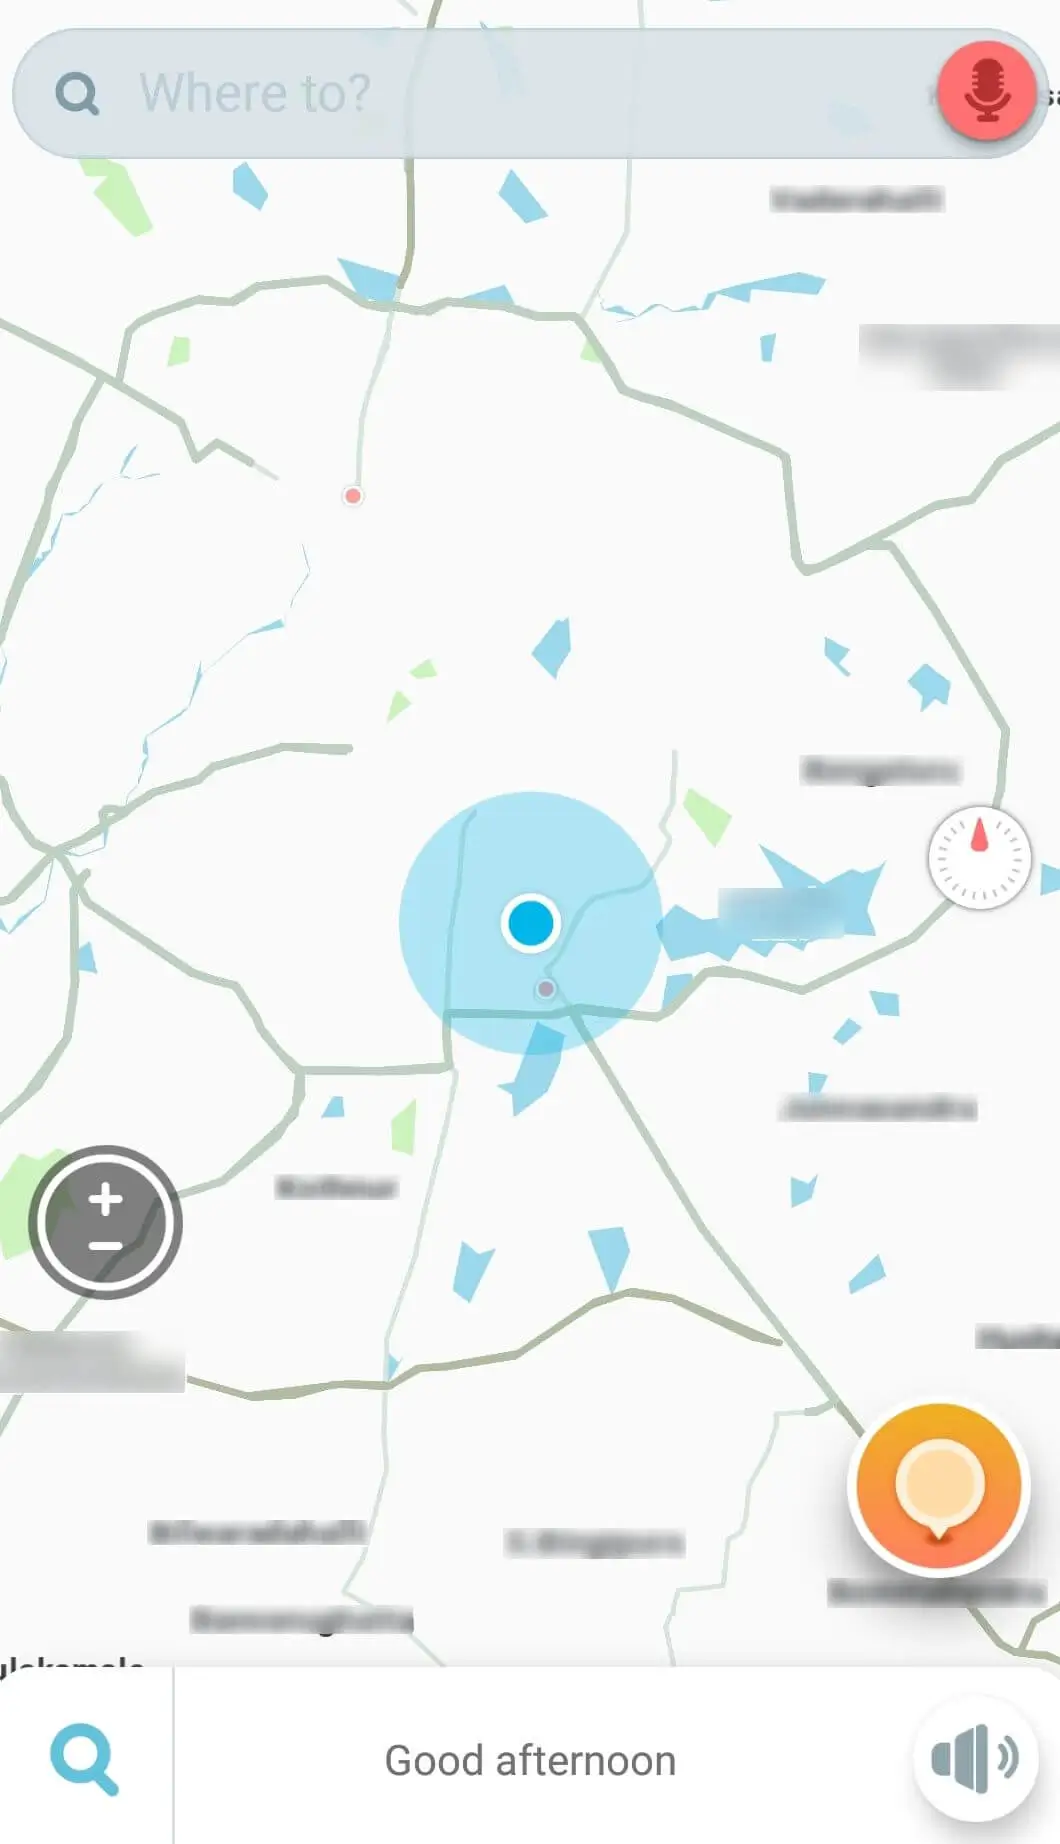
Step 2: Go to the ‘Reports’ Menu
Once you open the Waze app, you should be able to spot the orange ‘reports’ icon on the bottom left corner of your screen. Click on it.
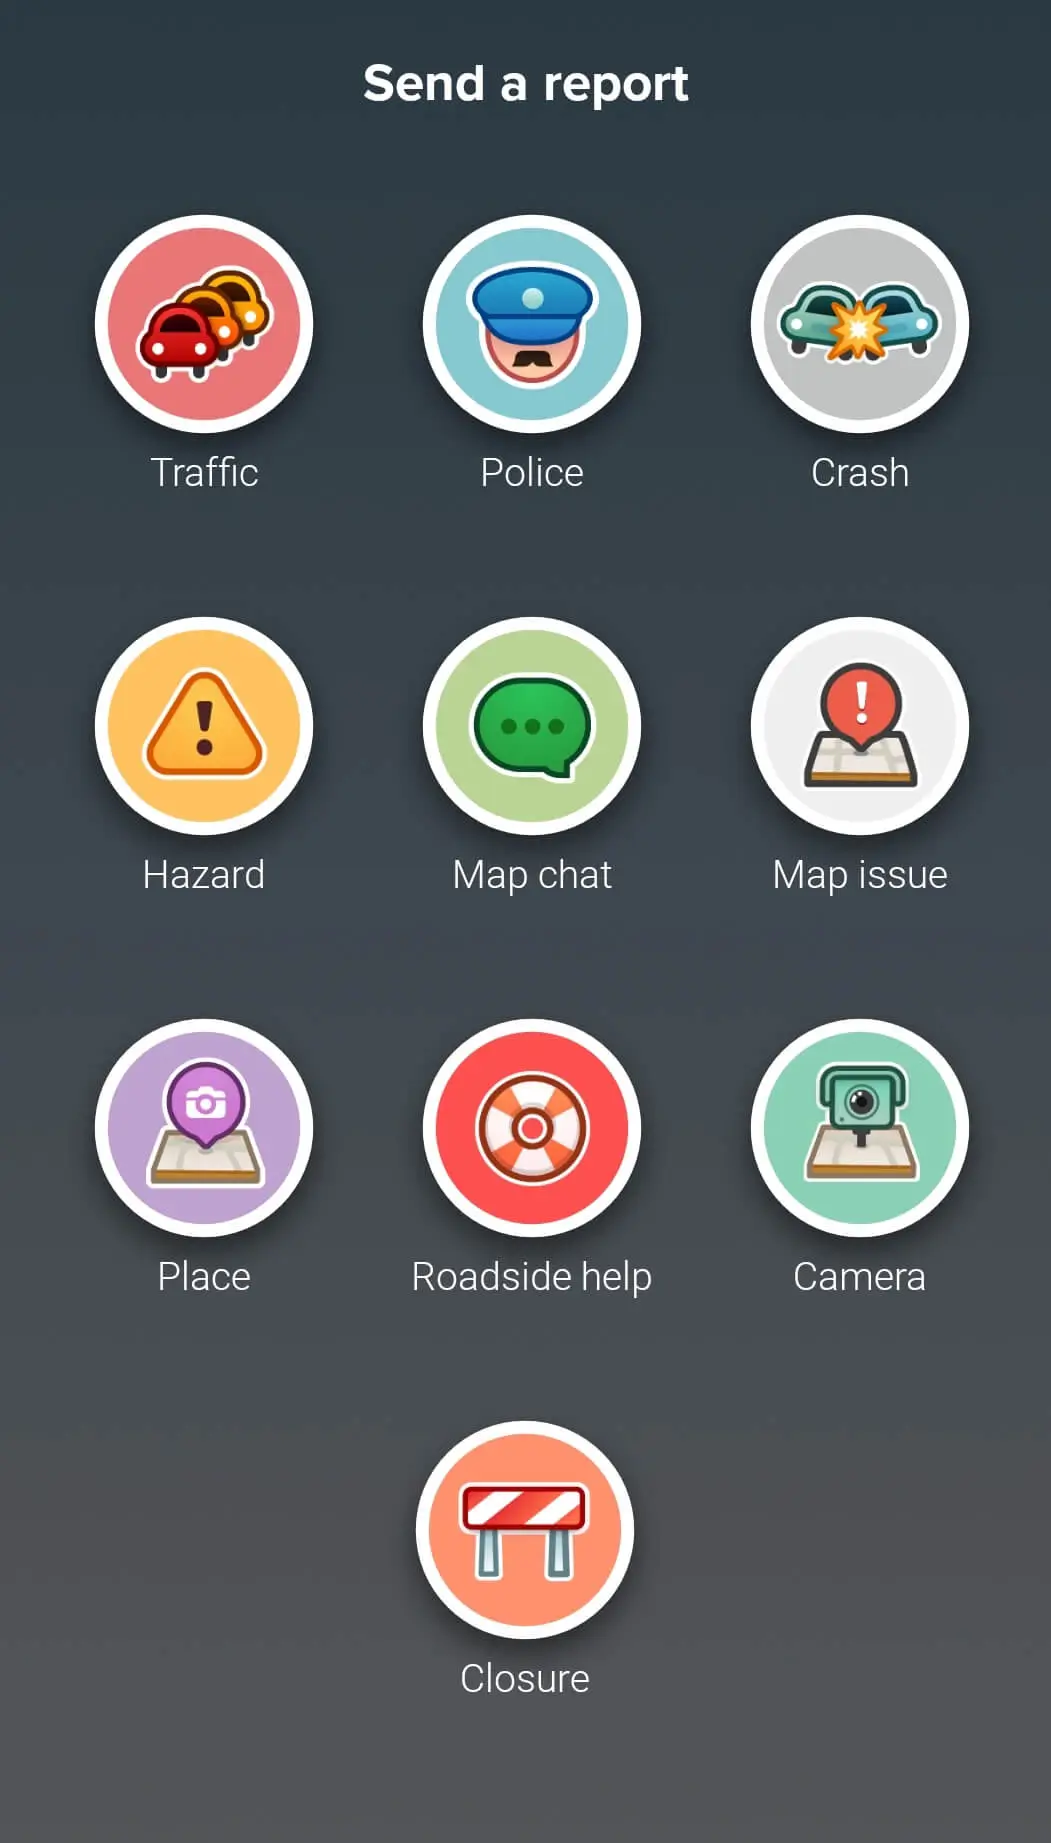
Step 3: Click on the ‘Place’ Icon
In the ensuing menu, click on the icon labelled ‘Place’.

Step 4: Take a Picture of Your Store
Tapping on the ‘Place’ icon automatically opens the camera, at which point you will be required to take a picture of your storefront. Once the picture is taken, the shutter icon changes to one with double arrows as shown. Click on it to proceed.

Step 5: Enter Your Business’ Name
After you click the picture, Waze will prompt you to enter the name of your business. You also have the option of labeling it as a residential place in the same screen.
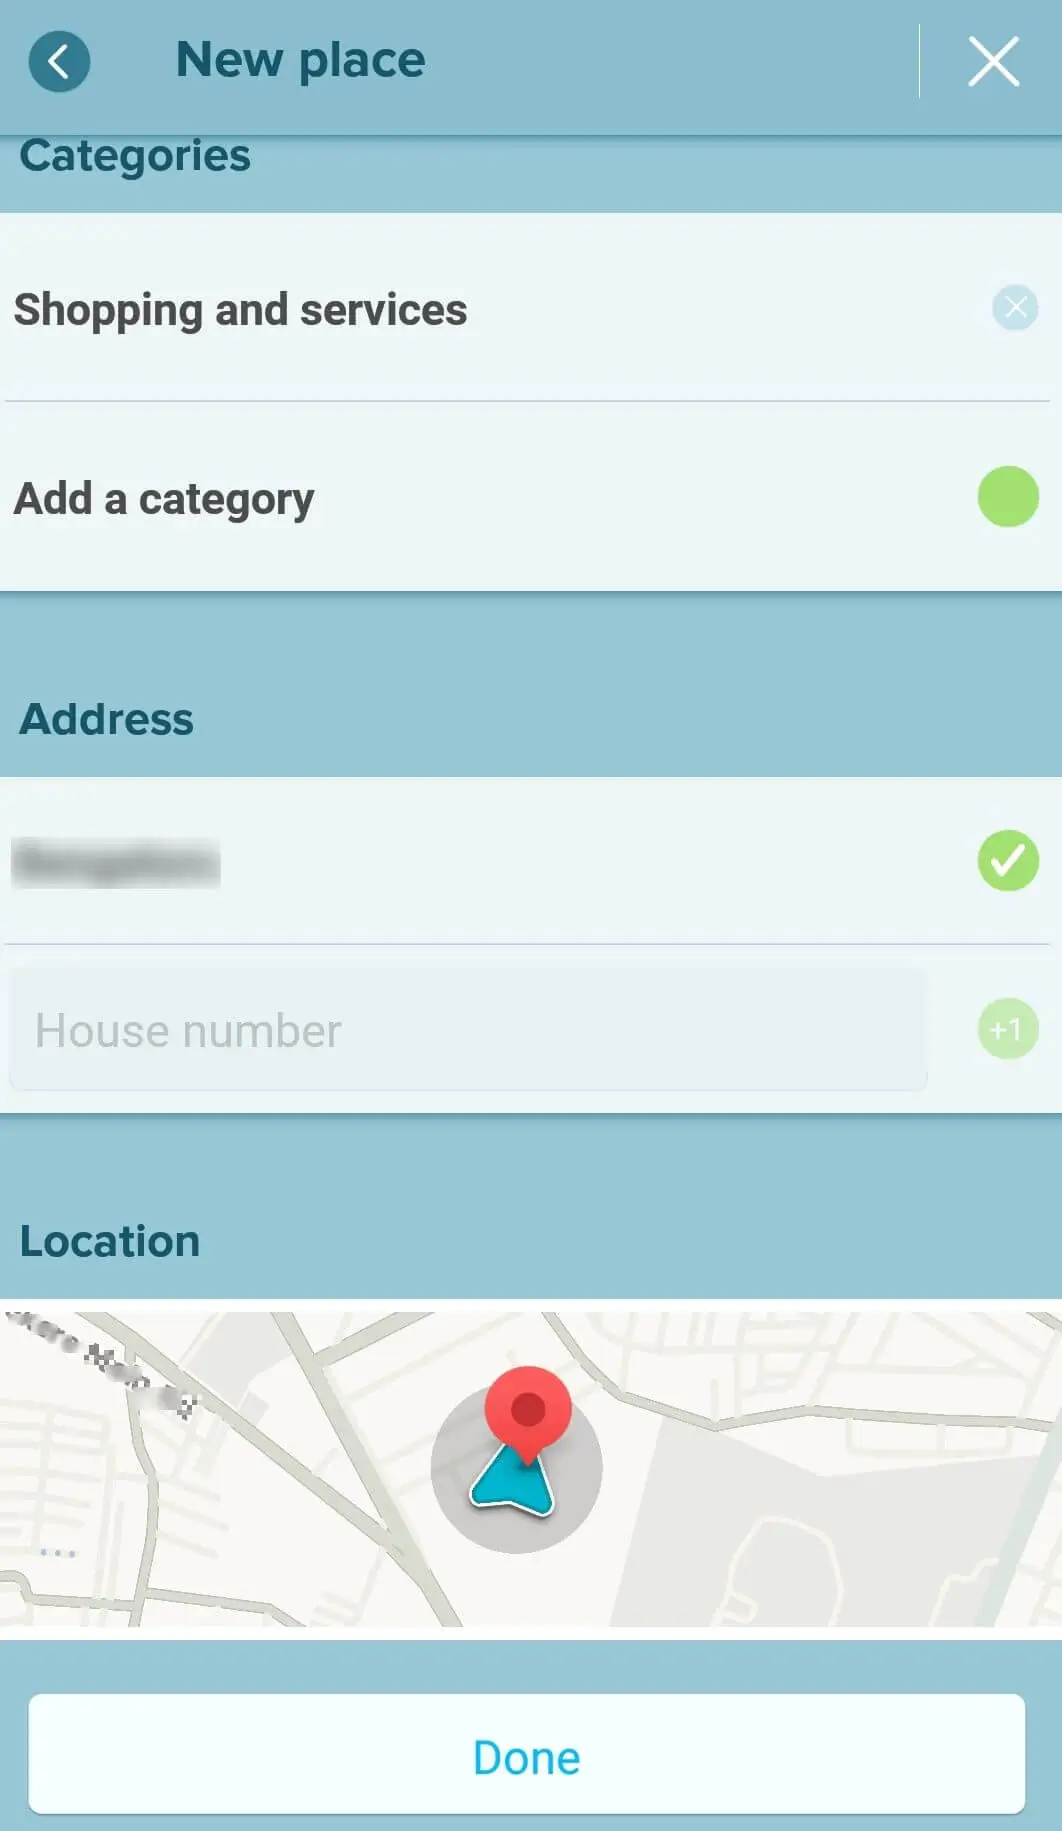
Step 6: Input Your Business Details
Now you will be required to enter some details about your business, such as the city, door number, and confirm the exact location of your business on the map. You will also need to choose from a list of categories that best suit the nature of your business so that Waze can label it under the same.