How to Claim Your Places in Bing Listing or Add Your Business to Bing
Want to add your business to Bing Local Listing or claim an existing listing for your business that's already there? This how-to guide will tell you all that you need to know about Bing Places and how you can get your business on it.

Step 1: Get Started
Go to Bing Places. Click on Get Started.
Step 2: Enter business details
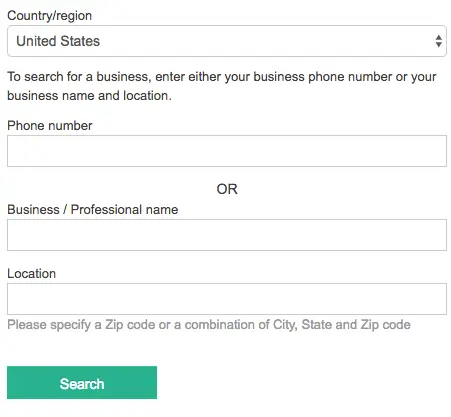
You should be redirected to a page with the following form.
Type in your business phone number into the field labelled Phone number You could also type in your Business/Professional Name and the location of your business. Once you’re done typing this in, hit the Search button.
Step 3: Claim Your Business
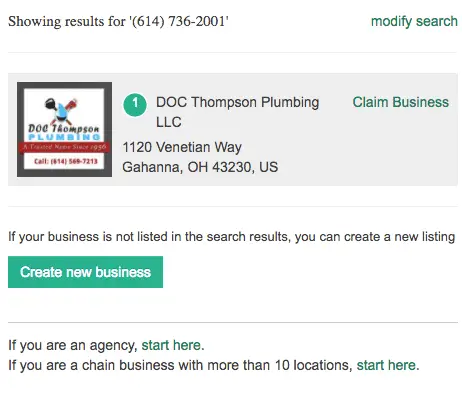
The search results should return your business listing.
Click on the green Claim Business link present next to your business name.
You will then be directed to a login page if you haven’t logged into your Microsoft account already. Login to your account and move to the next page.
If there are no results, you can add your business to Bing by clicking on the green Create new business button.
Step 4: Cross-check your Business Information
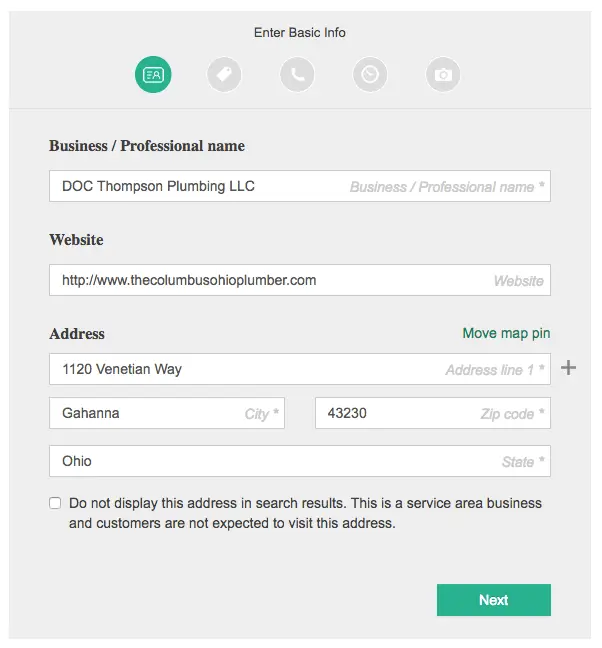
On the left hand side of the page you will be presented with box where you can enter your Business information. Most of the information should already have been filled in but do make sure to verify if it’s correct.
Click on Next to move to the next section. Finally, hit Submit once you’re satisfied with the information presented.
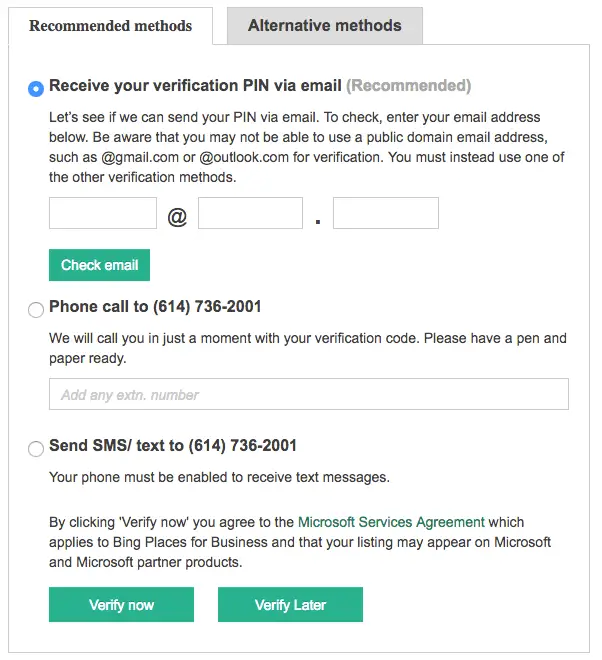
Step 5:Verify Your Business Listing
You shall now be presented by the preferred ways of verifying that you in fact are the owner of the business you are claiming.
Use any of these methods to receive your Verification code.
After verifying your business, you shall receive a notification from Bing Places confirming that you have successfully claimed or added your business to Bing.