Add custom Snapchat Geofilters
Learn how to add Snapchat geofilters to promote your business
Snapchat recently rolled out customizable templates geofilters as a new feature recently, and seemingly grabbing the attention of its users. After introducing this feature, it was noted that there were more than 1 billion in-app illustrations seen every day. It has been rolled out for lay people and business as well. Here’s how you can use a Snapchat geofilter for your business.
Snapchat has two categories of geofilters:
Community filters are specifically for artists and designers who want to create a free geofilter for a certain community like a university or an organization.
On-demand geofilters are for businesses or individuals who want to create a filter for a specific occasion or for a commercial or promotional purpose. On-demand geofilters are further sub-categorized into Personal Geofilter and Business Geofilters.
- A Personal Geofilter is for any laypersons who use the Snapchat app. If you’re celebrating a birthday or a wedding, you can create geofilters for that particular occasion.
- A Business Geofilter is one that businesses can use to promote their business. Such geofilters can include branding elements of a business like logos, brand names, mascots, etc.
Here are some important submission guidelines that you need to know before you create a geofilter.
- Your geofilter must be within 20,000 to 50 million square feet of a geofence.
- A geofilter can stay live for a period anytime between an hour to 180 days.
- Don’t use unauthorized trademarks or logos. Stick to using your own branding elements.
- You cannot use photographs of people.
- You cannot add business contact information such as phone numbers, email ids, website URLs, social media usernames, or any personal information.
- You cannot add hashtags.
- You cannot advertise any drug-related content.
- Other social media platform logos are prohibited from being used.
- While submitting your filter, make sure that it is under 300 KB ,saved as a PNG file, and has a transparent background.
- Your file size should be 1080 pixels x 1920 pixels or 1080 pixels x 2340 pixels
Here’s how you can use Snapchat geofilters for your business.
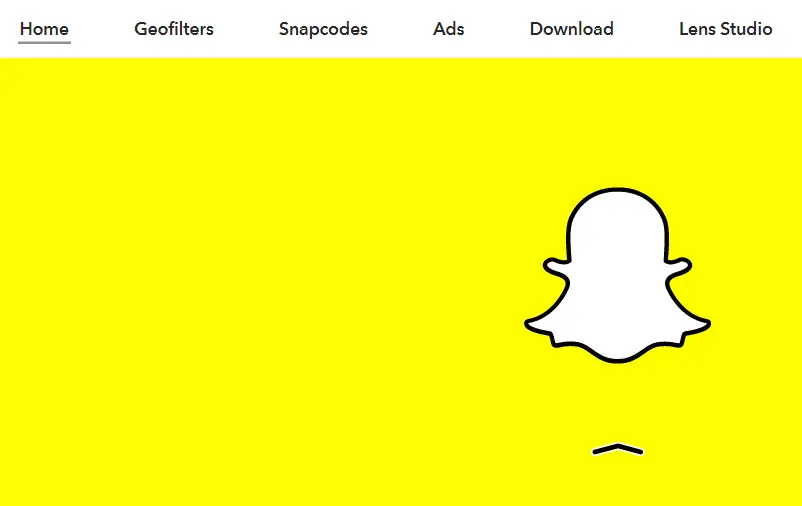
Step 1
Go to the Snapchat website and click on the “Geofilters” option on the topmost menu bar.
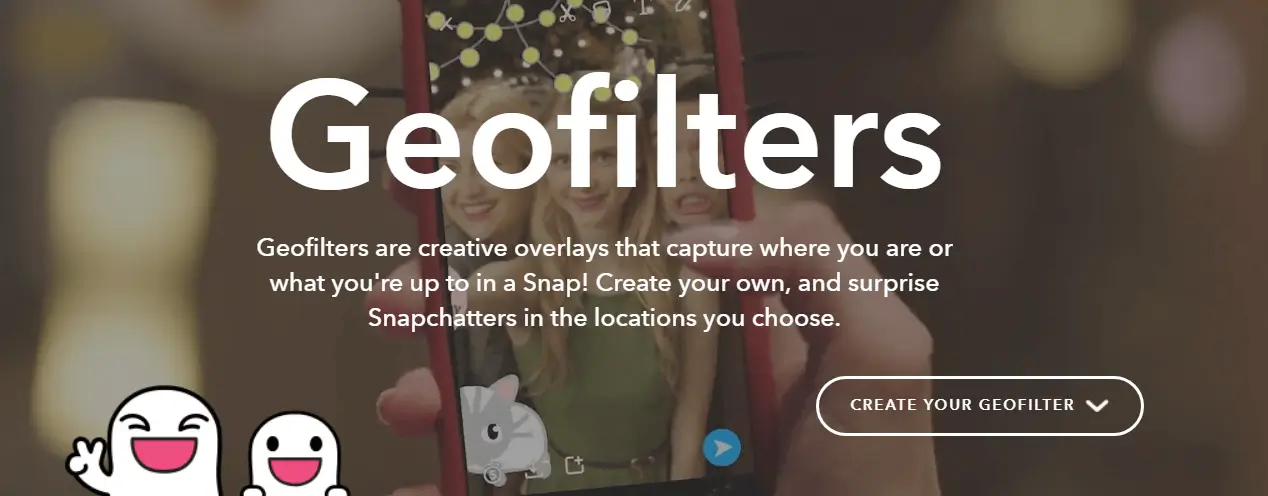
Step 2
After that, click on “CREATE YOUR GEOFILTER”.
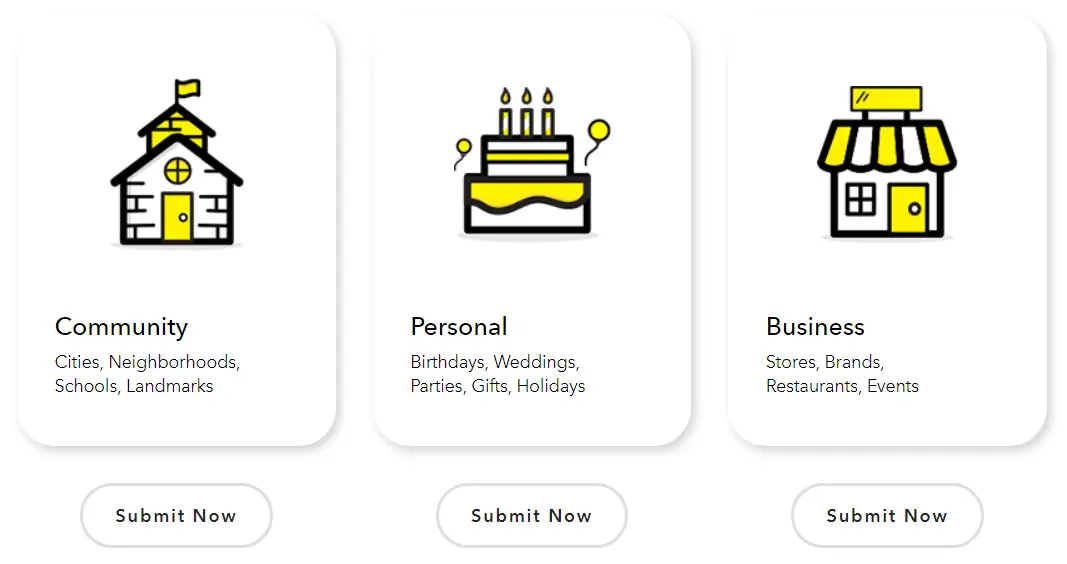
Step 3
Click on the “Submit Now” button under “Business.”
Step 4
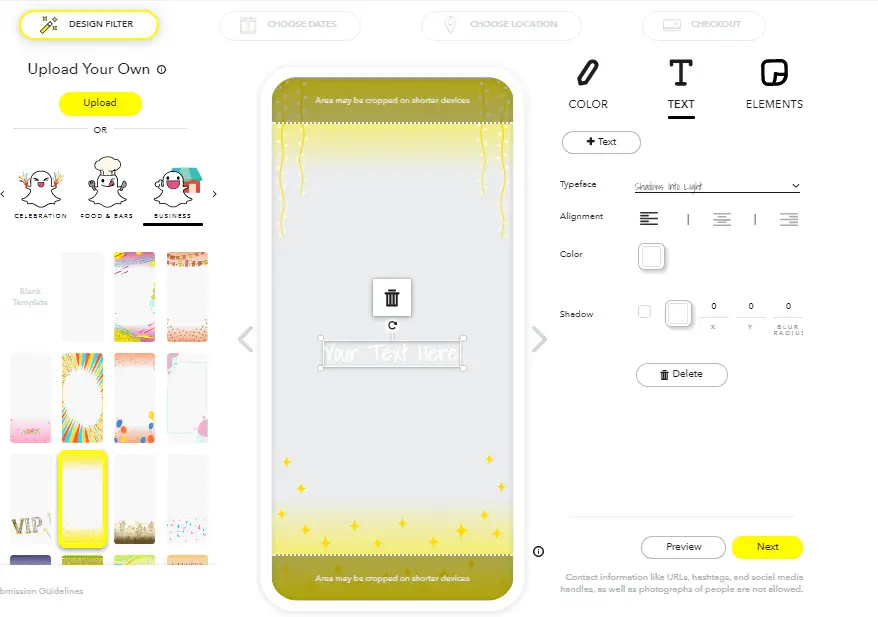
You can begin designing your filter either by uploading your own illustrations or by using one of the existing filters. As you can see, you have options to edit color, text and the graphic element that appear on your geofilter. Once you’re done, click on “Next”.
Step 5
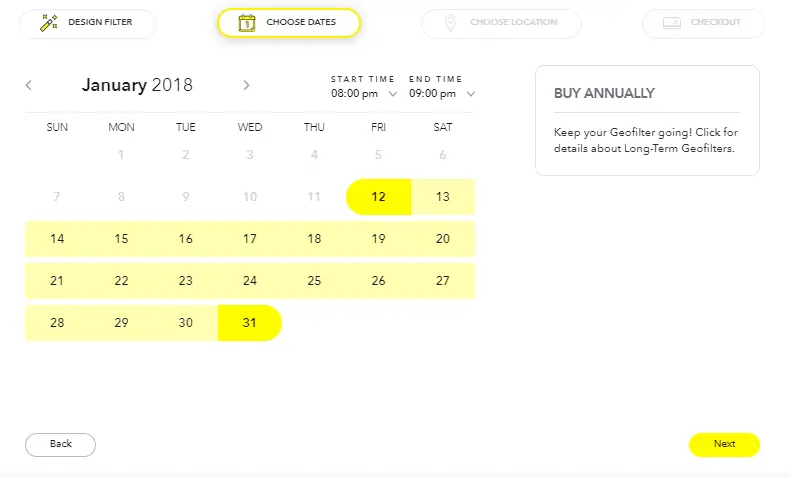
Choose a time period for your geofilter and click on “Next”.

Step 6
Choose the area where your geofilter will appear. If it is not applicable to a certain area, you will be notified with a prompt to correct your geofenced area. Once you’re done, click on “Checkout”.
Step 7
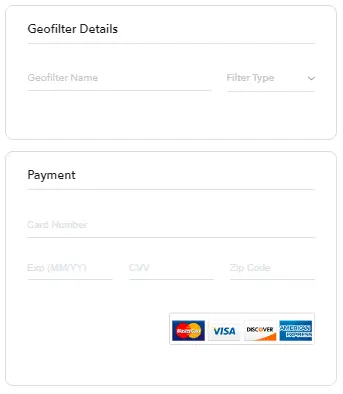
After you pick your geofenced area, you’ll be asked to make your payment. Fill in the required details in the relevant fields.
Note: The price of an On-Demand Geofilter is determined by the location you choose, the size of the chosen area, and how long you should run it. You can also increase or decrease the size of your geofenced area according to your requirements, and the price will be updated accordingly.
You will only be charged for your geofilter only once it has been approved by Snapchat.
Step 8
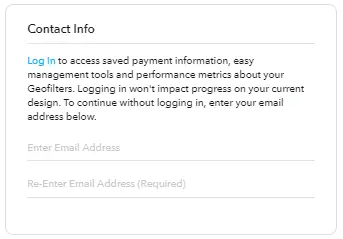
After adding all your payment details, you will be prompted to login to your Snapchat account, Alternatively, you can even enter your email ID and carry on with your process.

Step 9
Once you’re done, you will be given your order summary. You can review your filter and its specifications. If you’re pleased with your order, click on “Submit”.


