How to Add Your Business Listing in CitySquares?
Learn how to add your business listing to CitySquares with Synup's comprehensive how-to guide. Our step-by-step instructions make it easy to get your business in front of potential customers on one of the most popular local search platforms.
In today's world, having a strong online presence is crucial for any business looking to succeed. One effective way of increasing your business's visibility online is by adding your business listing to popular online directories such as CitySquares.
CitySquares is a free online directory that helps customers find local businesses in their area. By adding your business listing to CitySquares, you can get more exposure for your business and attract more customers. In this article, we'll guide you through the process of adding your business listing to CitySquares step by step.
Step-by-Step Guide to Add Your Business Listing in CitySquares?
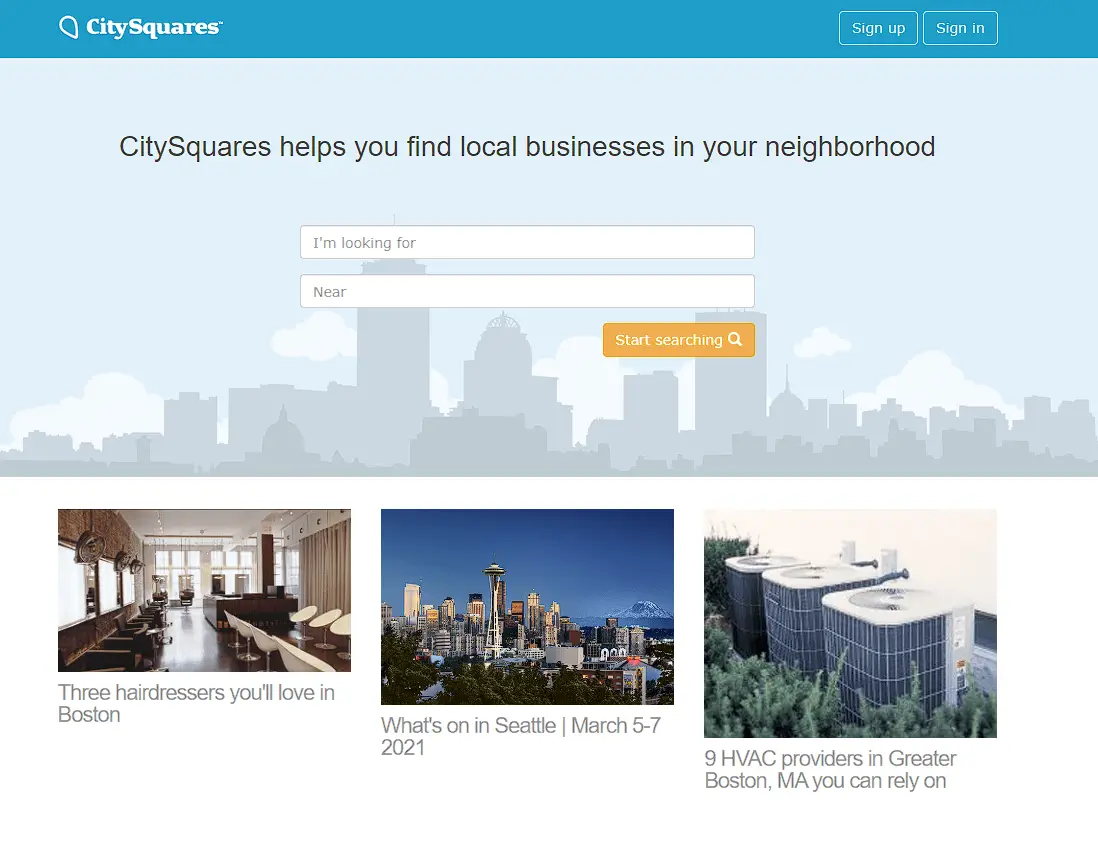
Step 1: Go to the CitySquares website at www.citysquares.com.
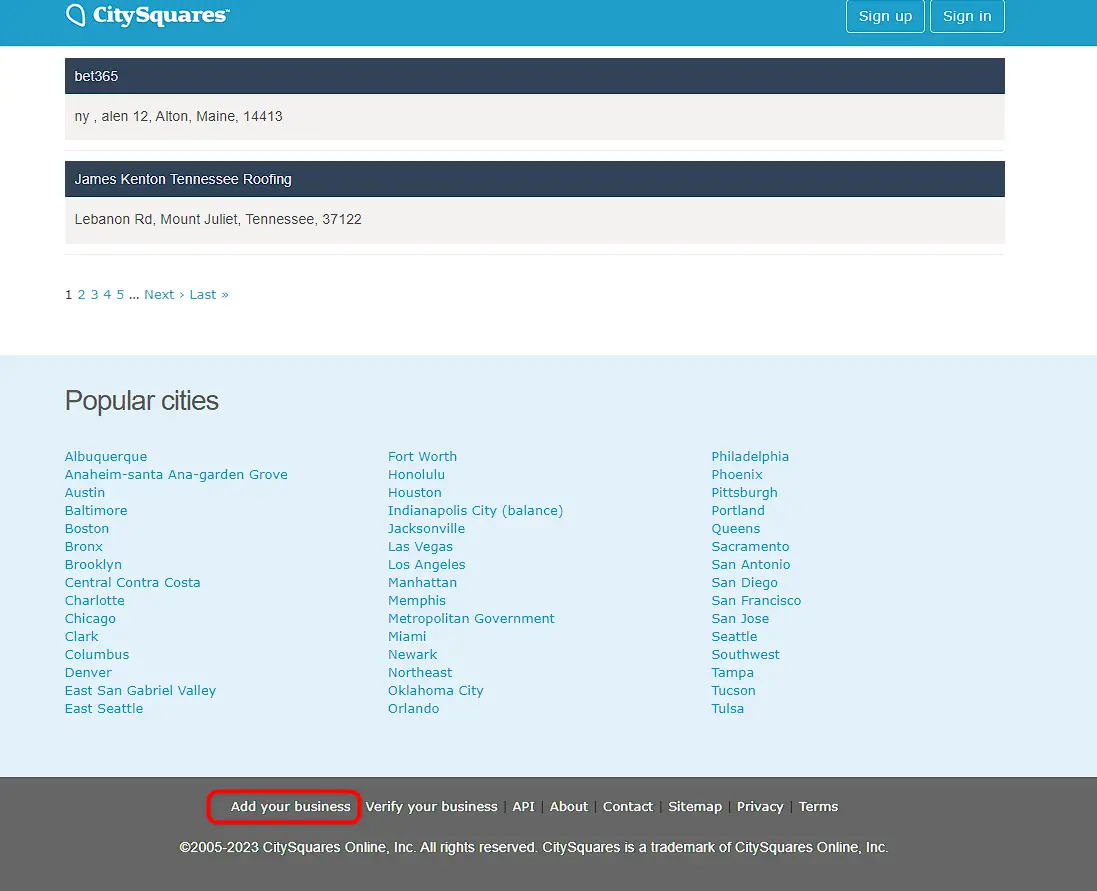
Step 2: Click on the "Add Your Business" link located at the bottom of the homepage.
Step 3: You will also need to create an account with CitySquares, which requires you to provide your name, email address, and password.

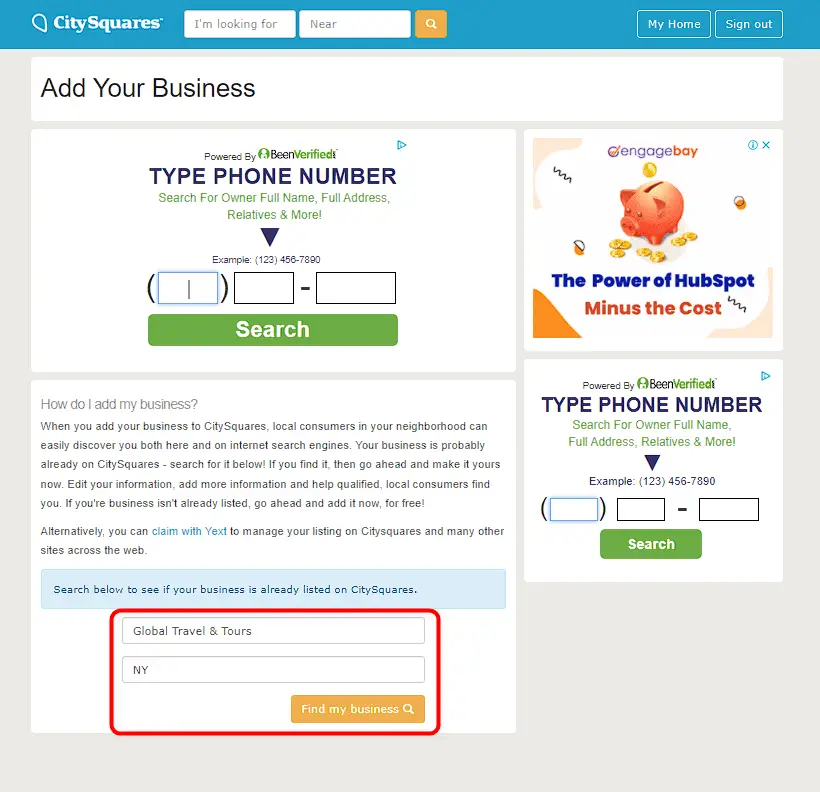
Step 4: Enter your business name, location and click ‘Find my business’. To find out If your business is already listed on CitySquares.
Step 5: Fill out the required fields on the form, including your business name, category, address, phone number, website, and short description.
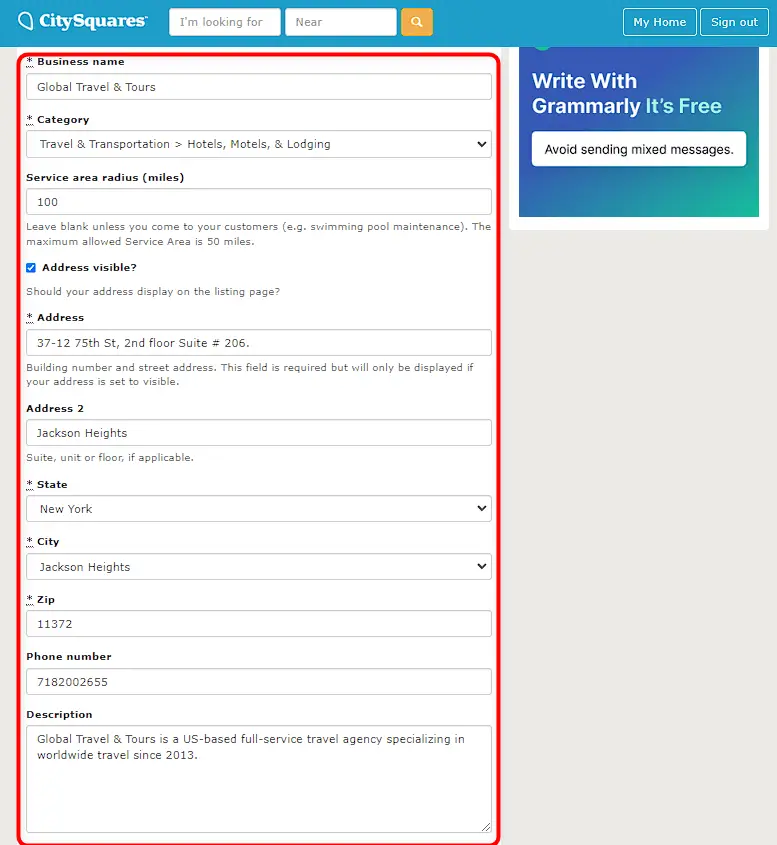
Step 6: Agree the terms and conditions and click the ‘Create Listing’ button.
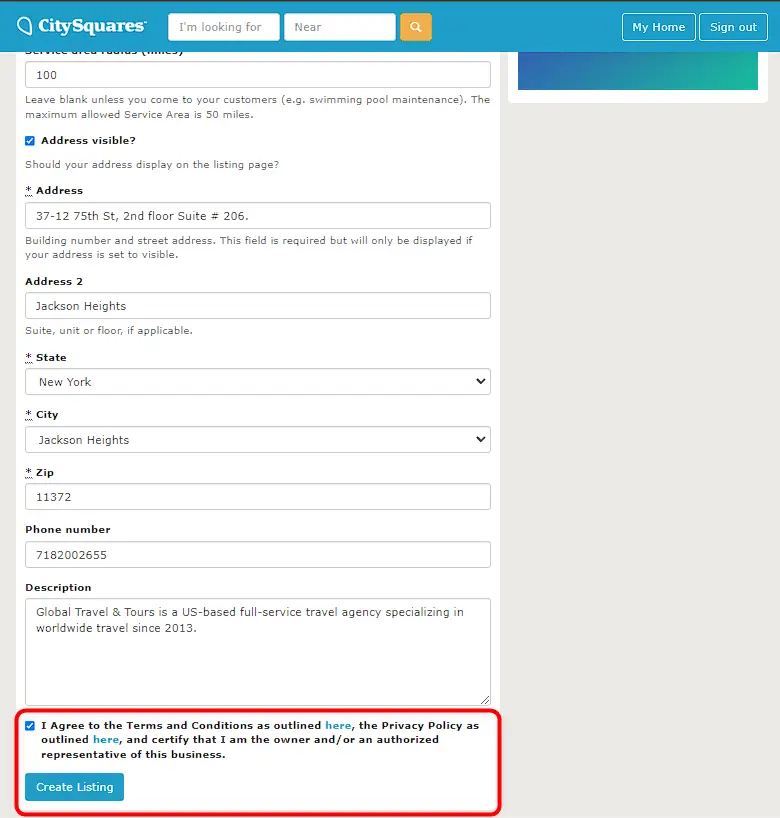
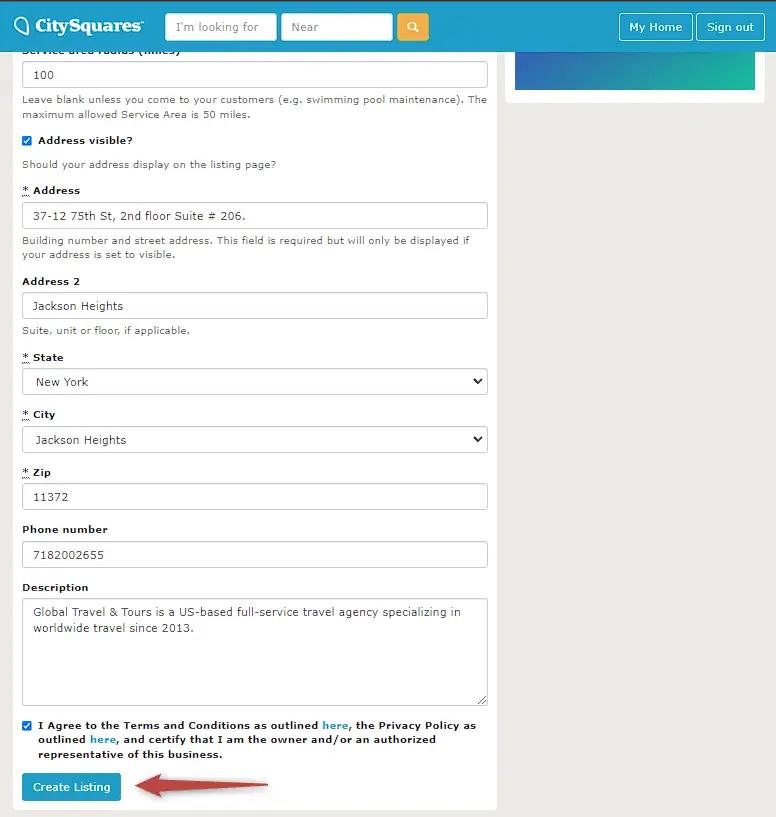
Step 7: Once you have completed the form and created your account, click on the "Create Listing" button.
Step 8: Your listing will be reviewed by CitySquares before it is published on the website. This process can take up to 24 hours.
Step 9: Once your listing is approved, it will be visible on CitySquares and available for users to find when searching for businesses in your area.
Note that CitySquares offers both free and paid listing options. The free option allows you to add basic information about your business, while the paid option gives you access to additional features such as enhanced listings, priority placement in search results, and more.


