How to Add Your Menu to Your Restaurant’s Facebook Page
Here’s an in-depth guide on how to add a menu to your restaurant’s Facebook page along with ‘why’ and ‘how often’ you should update it.
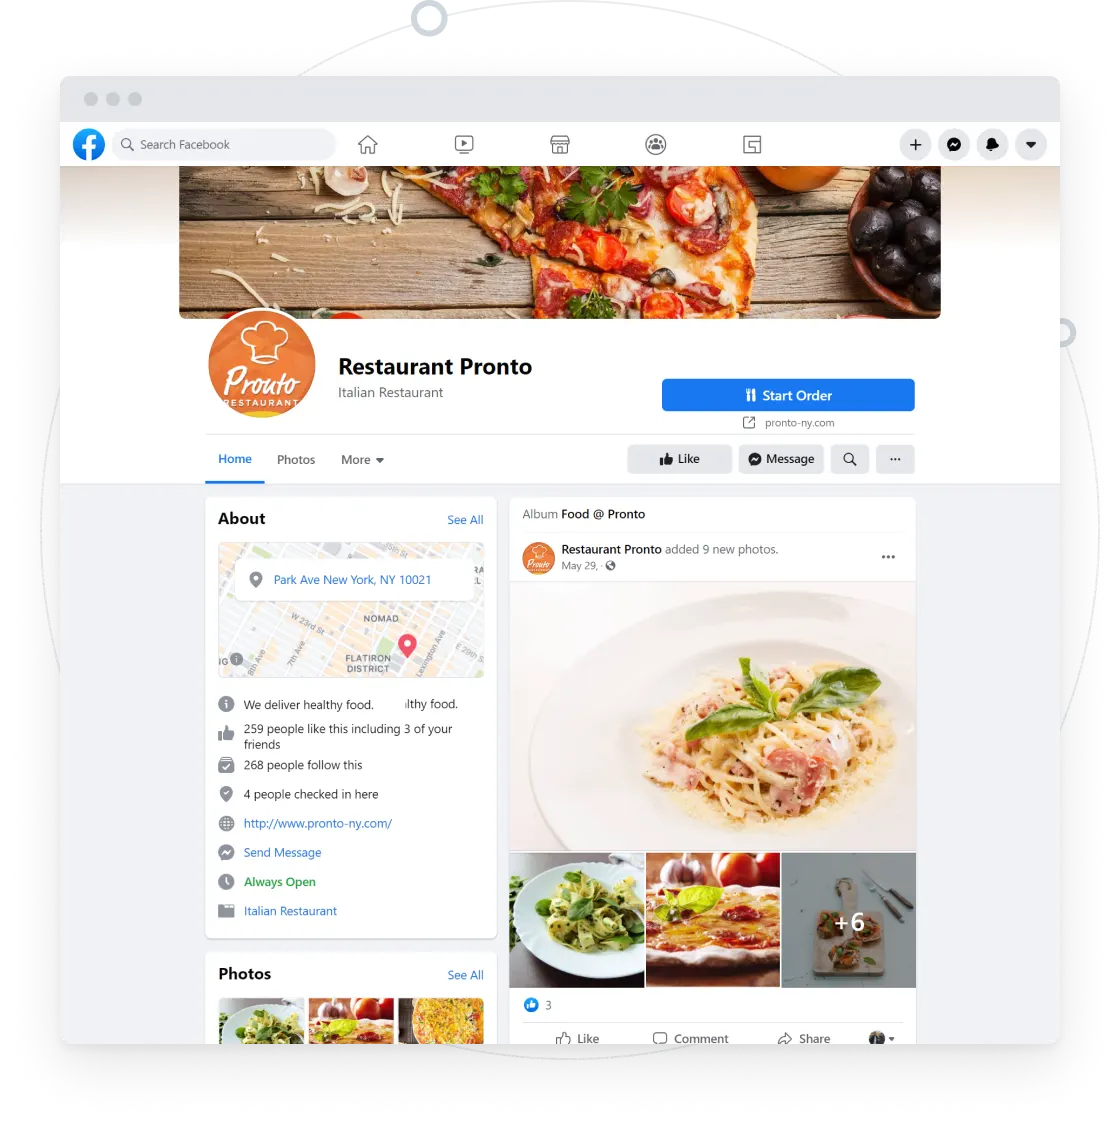
If you run a restaurant or food joint, you know how important it is to make it easy for people to find and connect with your business. Facebook is one of the biggest platforms for social engagement, and having a well-optimized business page can help you attract more customers. But simply setting up a Facebook page isn’t enough, you need to make sure potential customers can see what you offer. One of the best ways to do this? Add your menu directly to your Facebook page.
This not only helps customers make informed decisions but also saves them time when browsing for food options. A clear, accessible menu can increase conversions by making it easier for people to place an order or visit your restaurant. Here’s a step-by-step guide on how to upload your menu to Facebook.
Step 1: Log into Your Facebook Business Page
To add a menu, you need to be logged into your restaurant’s Facebook page. If you haven’t created a page yet, you’ll need to do that first.
Make sure your page is categorized correctly. Facebook allows you to select a business category when setting up your page, and for this feature to work, your business should be listed under Local Business > Restaurant/Cafe.
Step 2: Find the ‘See Menu’ Section
Once you’re on your business page:
- Click on ‘About’ in the menu on the left-hand side.
- Scroll down until you see the ‘See Menu’ option.
- Hover over it, and you’ll see an ‘Edit’ button, click it.
If you don’t see the ‘See Menu’ option, double-check your page category (Settings > Page Info) and ensure it’s set to Local Business > Restaurant/Cafe.
Step 3: Upload Your Menu
Now that you’re in the menu editing section, you have the option to upload your menu as either:
- A PDF file
- High-quality images (JPEG or PNG recommended)
Make sure the images are clear and legible. Blurry text or small fonts can frustrate customers and deter them from ordering. If you’re uploading multiple images, ensure they follow a logical order (e.g., appetizers, mains, desserts, beverages) so customers can navigate easily.
Step 4: Preview and Confirm
Before finalizing, take a moment to review how your menu appears:
- Is the text readable?
- Are the images properly aligned?
- Does it provide a clear overview of your offerings?
Once everything looks good, click ‘Confirm’ to save your menu. It will now be visible to anyone visiting your page.
Why Adding Your Menu to Facebook Matters
- People browsing your page can quickly decide what they want without having to visit another website or call for details.
- A well-organized menu can encourage customers to place an order or visit your restaurant.
- Facebook pages with detailed business information (including menus) are more likely to appear in search results when users look for nearby restaurants.
- Instead of responding to individual messages asking about your menu, customers can find everything themselves.
What If I Want to Update My Menu?
Menus change, and that’s okay! To update your menu:
- Follow Steps 1 and 2 to navigate back to the ‘See Menu’ section.
- Click ‘Edit’ and upload the new version of your menu.
- Review and confirm the changes.