How to Create an Instagram Reel
Master the art of captivating Instagram Reels with our step-by-step guide. Create engaging short videos and boost your social media presence!
With the rise of short-form video content, Instagram Reels should be an essential part of your social media strategy. Using Instagram Reels, you can create and share short, engaging videos with your followers, giving them a more in-depth experience than a typical image on your feed. Additionally, Instagram is heavily promoting Reels, so utilizing them in your social media strategy will help boost your content and get your account seen by a larger audience. Read on to learn how to create an Instagram Reel. Let's get started!
Step 1: Open the Instagram App

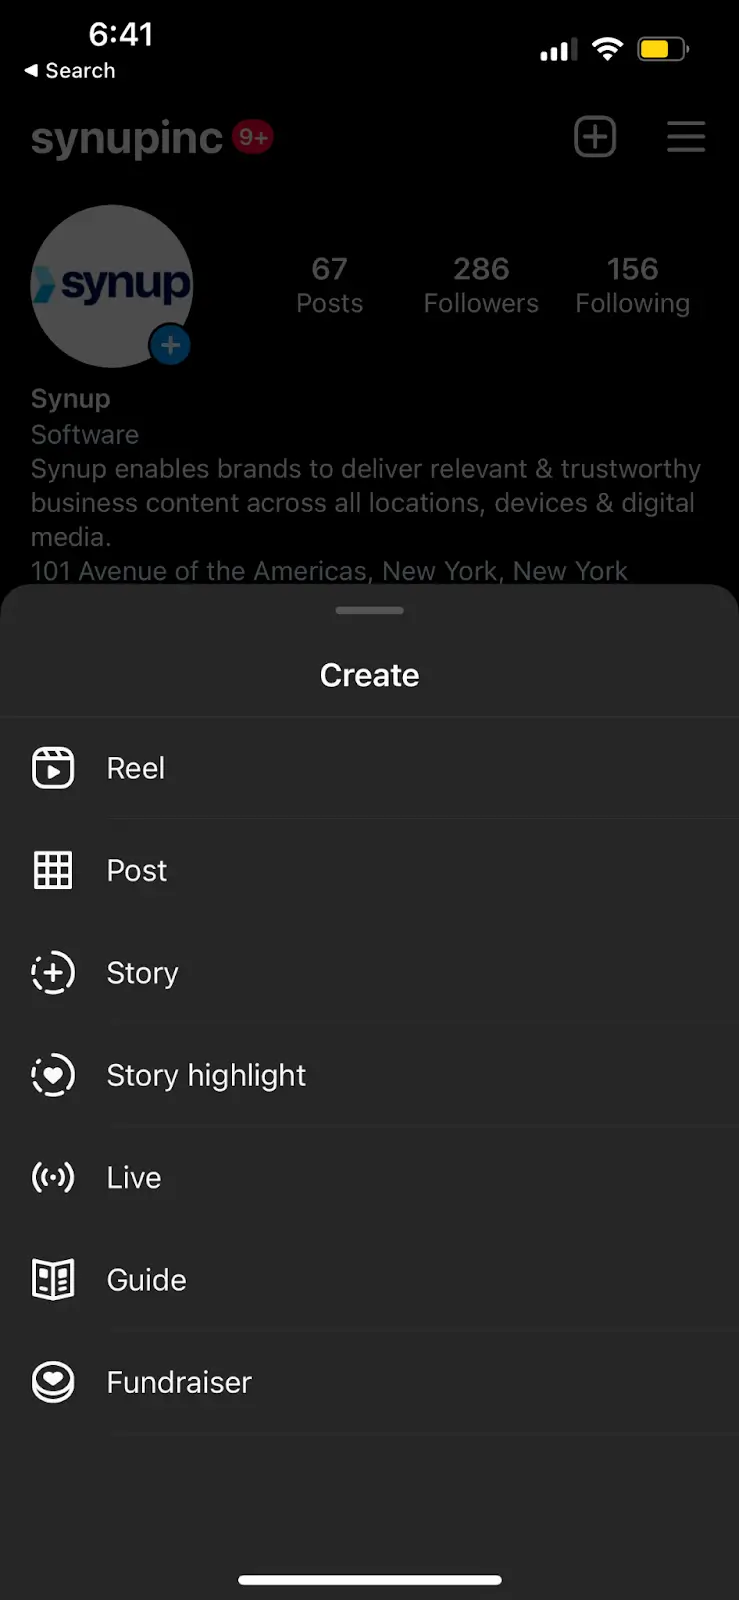
Step 2: Create
Tap on the "+" button at the bottom center of the screen, or tap the “+” at the upper righthand corner. This will open the camera, where you can create various types of content, including Reels.

Step 3: Choose the Reels Option
Step 4: Set Up Your Recording and Add Audio, Filters, and More
Before recording your Reel, you can customize a few settings. You can choose the duration of your video (up to 30 seconds), add a countdown timer, or adjust the playback speed. These options are located on the left side of the screen.
You can also add audio by tapping the "Audio" button on the right side of the screen. You can either select a popular audio track from Instagram's library or use your own original audio. If you want to do a voiceover, you can add one after you’re done filming. It’s a good idea to use trending audios from Instagram’s library - don’t just copy the ones you see on TikTok or use random audios. Using a popular audio will help your content get more engagement!
If you want to apply filters or effects to your video, you can enhance your Reel by tapping the smiley face icon on the right side of the screen. Instagram has a lot of fun filters and effects, so experiment to see what you like!
Step 5: Record Your Reel
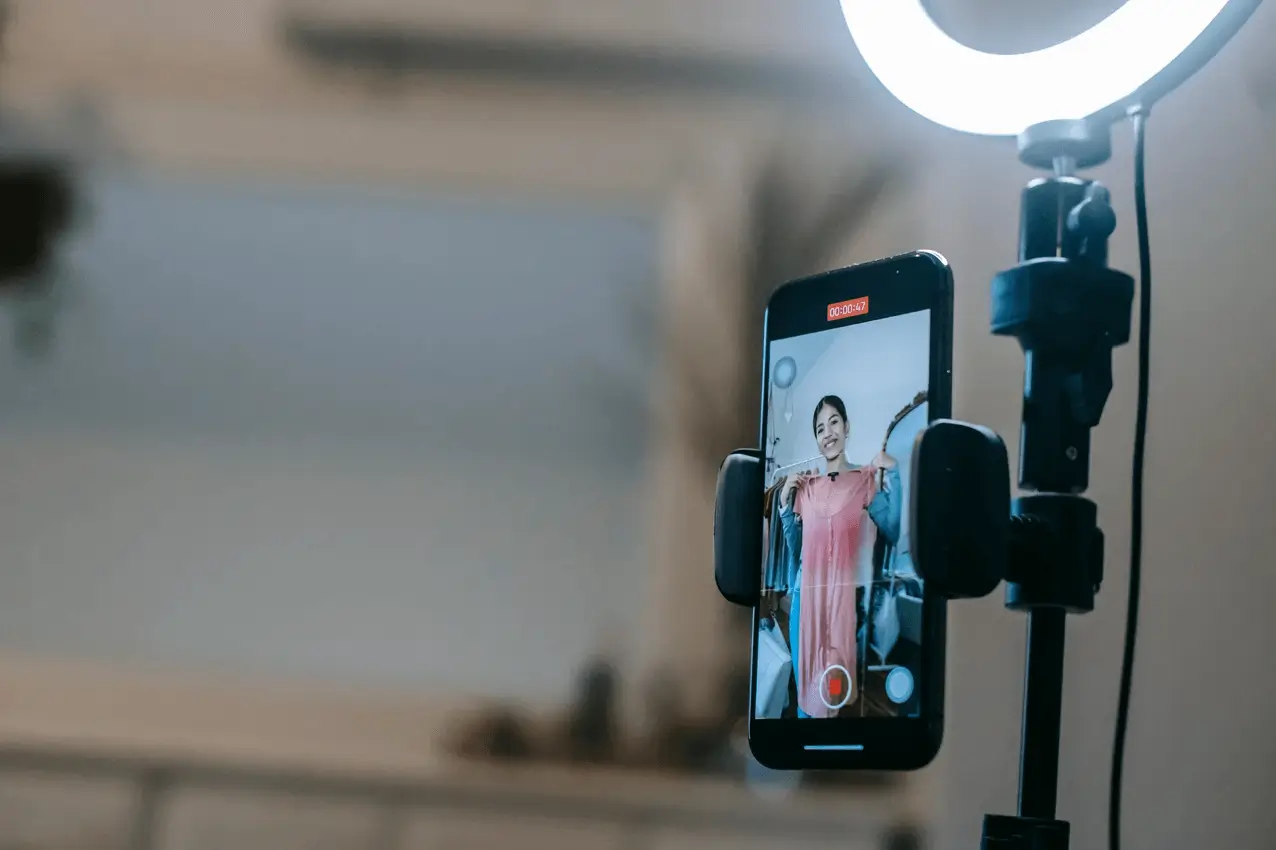
When you're ready to begin recording, tap the record button in the center of the screen. You can record your Reel in a single take or pause and resume recording multiple times to create seamless transitions and add variety.
You can also add video clips from your camera roll into Instagram’s editing platform.

Step 6: Edit Your Video
After recording your Reel, it’s time to edit! Tap the arrow icon at the bottom left corner to access the editing tools. Here, you can trim the video length, add text, stickers, and drawings, as well as adjust the volume of the original audio and other effects.
If you want to utilize third-party editing tools like Adobe Premiere Pro, iMovie, or CapCut, you can film your clips on your camera or smartphone and edit them there. Then, you can upload the edited video directly to Instagram.
Step 7: Add Captions and Hashtags
To maximize the reach of your Reel, make sure you add a caption and relevant hashtags. This helps users discover your content when they search for specific topics or explore the Explore page. Plus, it’ll tell Instagram what kind of niche your content falls into - so it’ll get seen by the right audience.
Step 8: Share Your Reel
Once you're satisfied with your Reel, tap the arrow icon at the bottom right corner of the screen. This will take you to the sharing screen. From here, you can choose to share your Reel directly to your Instagram feed or add it to your Reels tab. Don’t forget to share your Reel to your story, too, to let your audience know that you posted something new!
Creating an Instagram Reel is a fun and creative way to engage with your audience and showcase your personality or talents. By following this guide, you'll be able to create compelling Reels that will captivate your followers and attract new viewers. So, grab your smartphone, open the Instagram app, and start creating amazing Reels today!


