How to Create a Pinterest Board
Learn how to create a Pinterest board with this easy step-by-step guide. Discover the secrets to curating and organizing your pins effectively.
With over 460 million users, Pinterest is an untapped resource for brands hoping to connect with their audience. Known for its inspiring and informational posts, Pinterest is perfect for businesses to showcase their products and services, reach potential customers, and drive traffic to their websites. One of the key features of Pinterest is the creation of boards, which allow businesses to curate and organize their content in an aesthetic way. Boards help users navigate your pins and find what they’re looking for with ease! Read on to learn how to create a Pinterest board and curate your boards to maximize engagement and ease.
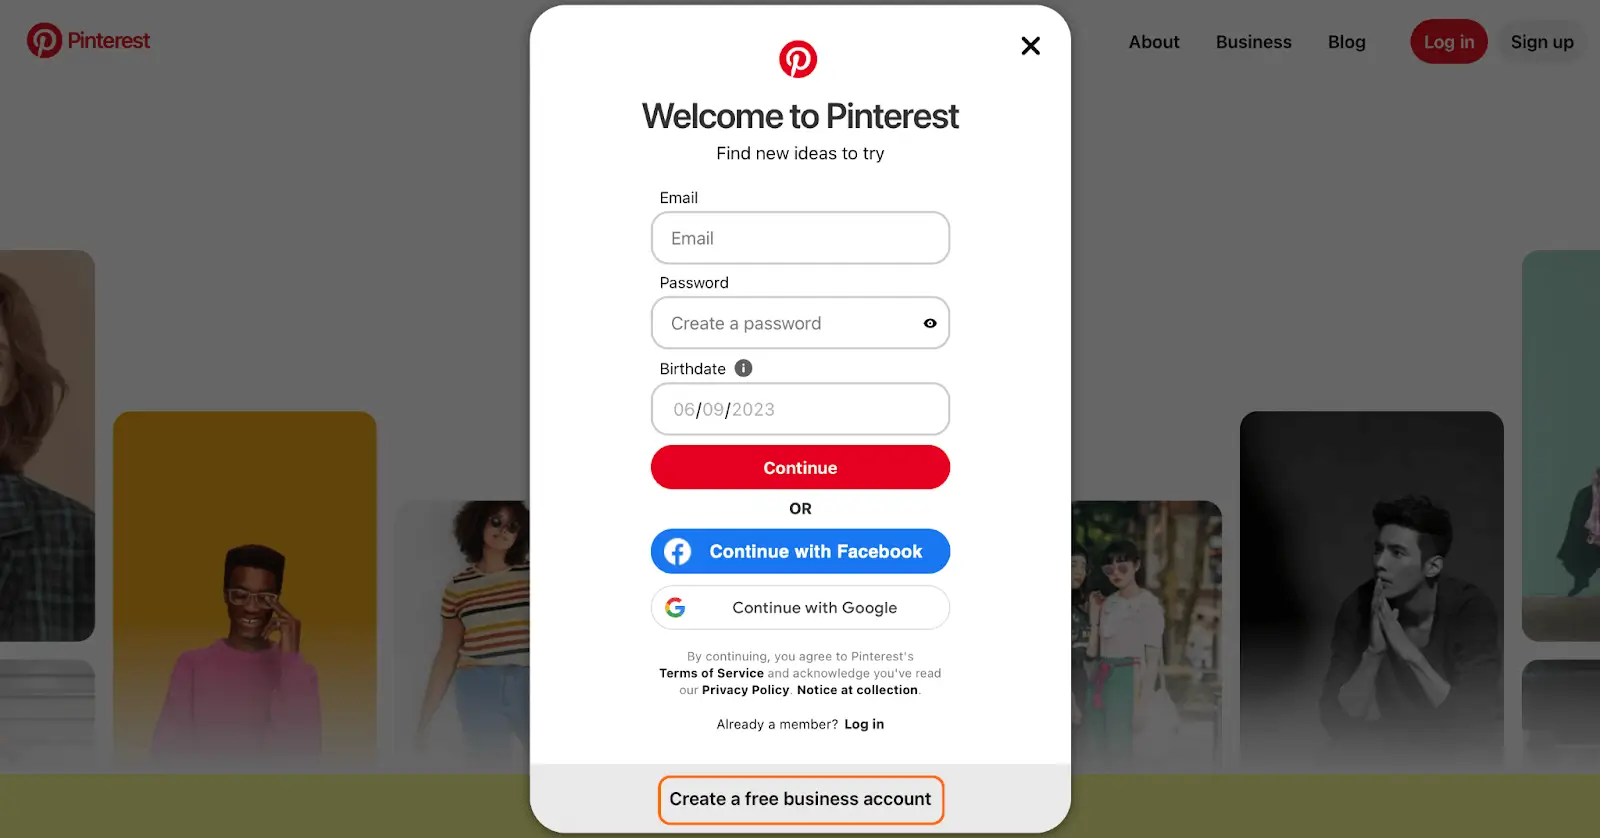
Step 1: Sign up or log in to Pinterest. To create a new account for your business, click “Sign up” and select “Create a free business account”, then follow the prompts to set up a profile for your brand.

Step 2: Go to your profile by clicking on your profile icon at the top-right corner of the screen. This will take you to your business’ profile page.
Step 3: Create a new board. Click on the “+” to create a new board, where a pop-up will prompt you to create a new board.

Step 4: Customize your board. Your board name should describe its contents - and make sure it’s descriptive! The goal is for your audience to easily navigate your profile. For example, choose a name like “Spring Fashion Inspiration”. Then, choose a relevant category for your board and add a description.

Step 5: Add a board description. Write a concise and informative description for your board that incorporates relevant keywords. Your description should help users understand the purpose and content of your board, so be sure to include any relevant details!
Step 6: Add pins to your board. You can either create your own pins or pin others’ posts to your new board.
Pro tip: for a more authentic presence, incorporate a mix of your pins and others’ pins on your board.
Step 7: Organize your pins. You can arrange your pins by dragging and dropping them within your board. Pinterest is all about aesthetics, so consider creating sections within the board. You can create sections with different visual aesthetics (similar to constructing your Instagram grid) or organize informational content so that various topics are grouped together.
Step 8: Optimize your pins and add links to drive conversions. Add relevant titles, descriptions, and hashtags to each pin to enhance discoverability. Include links to your website or specific product pages in the pin descriptions to drive traffic and conversions!
Step 9: Collaborate and engage. You can invite others to collaborate on your board by adding contributors. Make sure to engage with your audience by responding to comments, liking pins, and following other relevant boards and users.
Pinterest is a great place to facilitate authentic engagement with your audience! By creating boards to organize your pins, you make it easier for your followers to find what they’re looking for.
By following these steps, you can utilize Pinterest and create compelling boards for your followers to engage with. Pinterest is the perfect platform for visual appeal, targeted reach, and traffic-driving potential. By creating Pinterest boards, you can effectively:
- Showcase your products and services
- Increase brand exposure
- Connect with your audience effectively
Embrace the power of Pinterest to boost your business's online presence and drive growth. Happy pinning!


